
Nothing beats walking into your kitchen and smelling chicken legs sizzling away with skin so crispy it crackles when you bite in. Whether you’re cooking for a busy weeknight or a weekend cookout, chicken legs are cheap, fast, and forgiving. This list rounds up 22 ways to get that fall-off-the-bone texture with skin that actually crunches, using tools and tricks you probably already have at home. No fancy equipment, no complicated steps — just real methods that work.
1. Air Fryer Chicken Legs
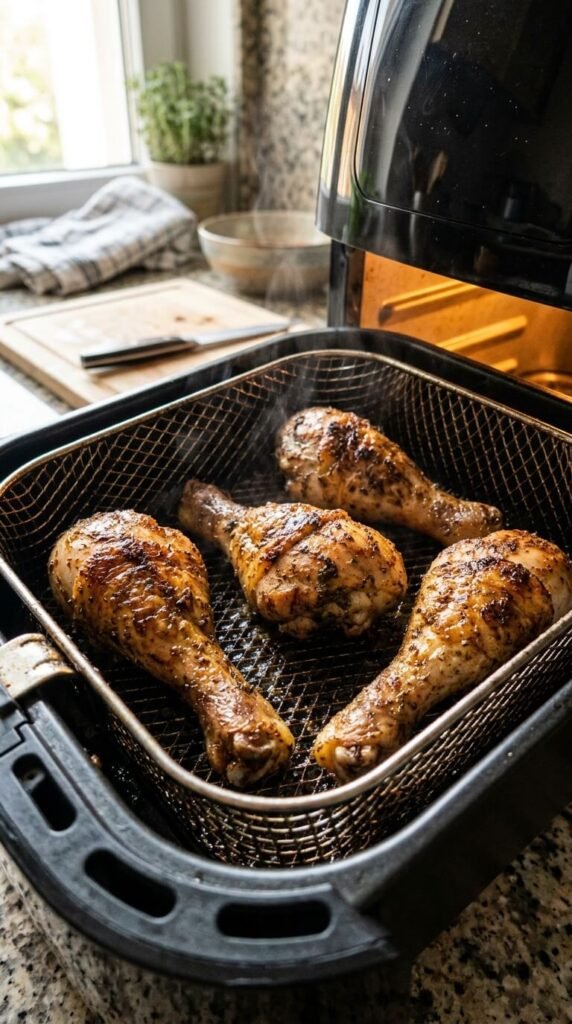
Your air fryer is a shortcut to crispy skin without heating up the whole oven. Set it to 380°F and cook the legs for about 25 minutes, flipping halfway. The hot circulating air dries out the skin fast, so it crisps up nicely. Pat the legs dry first — this step matters more than people think. A little oil and salt is really all you need. This method saves electricity too, since air fryers use less energy than a full oven. Great for small kitchens or apartments without much counter space.
2. Oven-Baked High Heat Method
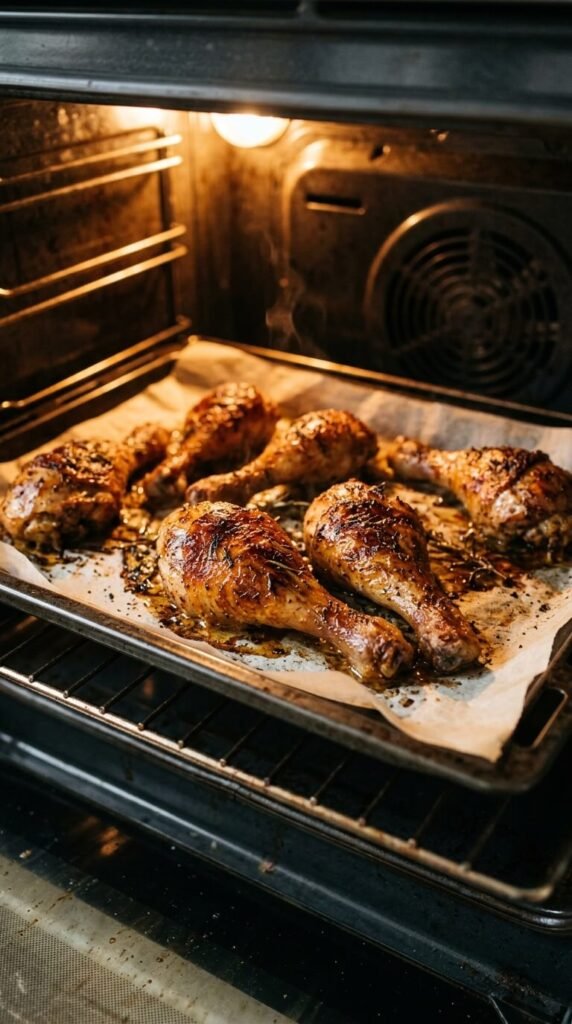
Cranking your oven to 425°F changes everything. High heat renders the fat under the skin quickly, leaving it thin and crackly instead of soft. Place the legs on a wire rack over a baking sheet so air moves underneath too. This keeps the bottom from getting soggy. Roast for 35 to 40 minutes. A cheap wire rack from a dollar store works just fine here. This method needs almost no prep, making it perfect for busy weeknights when you want dinner on the table fast.
3. Baking Powder Skin Trick
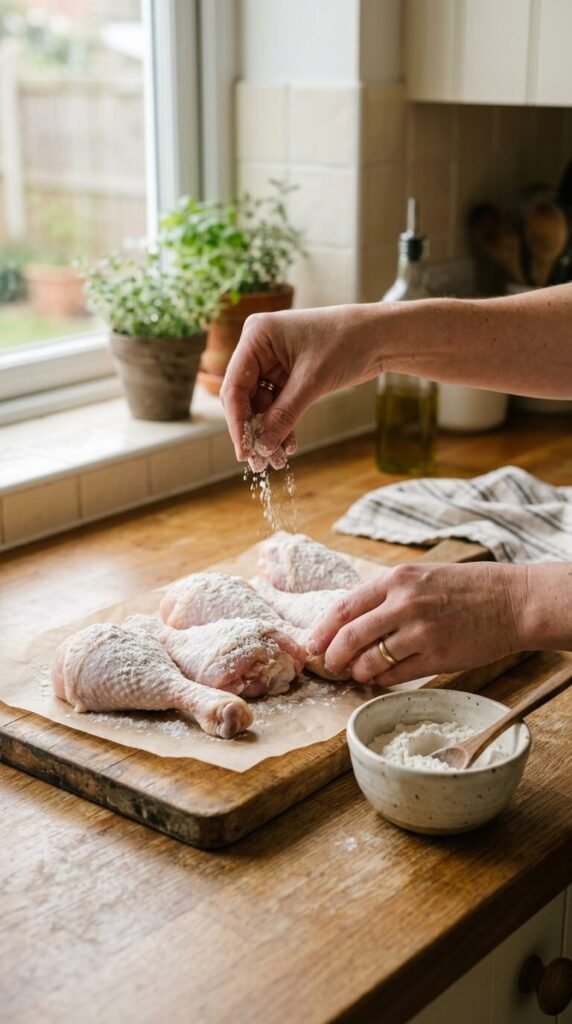
Baking powder is the secret weapon restaurants don’t always mention. Rub a thin layer over the skin before roasting. It raises the skin’s pH, which helps it brown and crisp faster than usual. Don’t confuse it with baking soda — that leaves a bitter taste. Let the legs sit uncovered in the fridge for an hour before cooking so the skin dries out. This trick costs pennies and turns an ordinary bake into something with serious crunch. Simple pantry staple, big payoff.
4. Grilled Chicken Legs
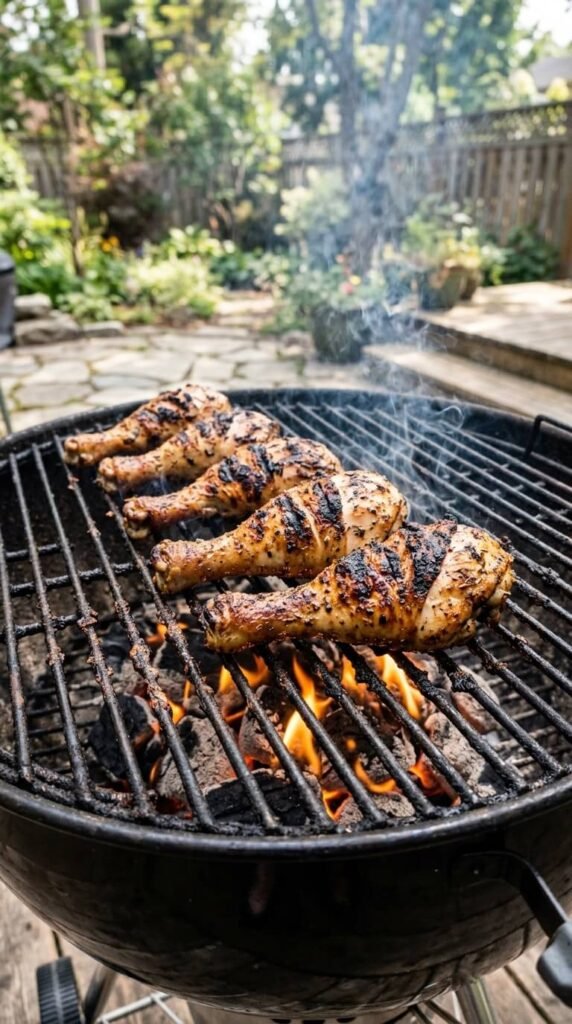
Grilling adds a smoky flavor that ovens can’t match. Cook the legs over medium heat, turning every few minutes so they don’t burn. The direct flame crisps the skin while the inside stays juicy. A basic charcoal grill or even a stovetop grill pan works well. Keep a spray bottle of water nearby to control flare-ups from dripping fat. This method is ideal for backyard gatherings and costs almost nothing beyond charcoal or gas you already have on hand.
5. Spatchcock-Style Quick Roast

Flattening the legs slightly before roasting helps them cook more evenly. Use kitchen shears or a sharp knife to make a shallow cut along the bone, then press down gently. This exposes more skin surface to heat, so it crisps faster overall. Roast at 400°F for about 30 minutes. This trick works especially well when you’re short on time but still want restaurant-style texture. No special tools required beyond scissors you likely already own.
6. Buttermilk Marinade Before Cooking

Soaking chicken legs in buttermilk overnight tenderizes the meat so it falls off the bone easier. The acidity breaks down connective tissue while keeping the meat moist during cooking. Pat the legs completely dry before roasting or frying so the skin still crisps properly. A cheap carton of buttermilk goes a long way, and you can even substitute plain yogurt thinned with water if that’s what you have. This budget swap makes a real difference in tenderness.
7. Double-Dry Roasting Technique
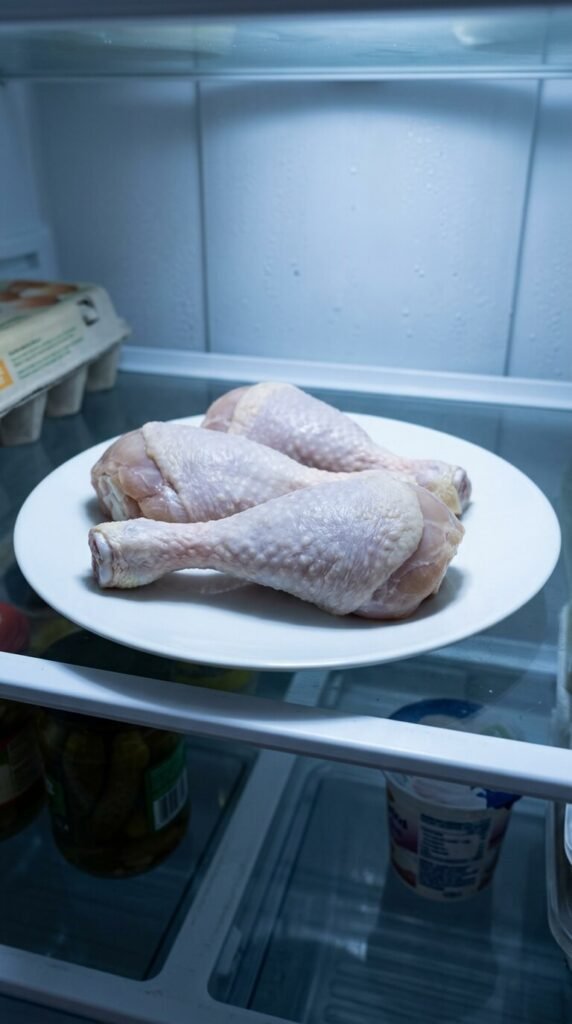
Drying the skin twice is a small step with a big payoff. Pat the legs dry after washing, then let them sit uncovered in the fridge for a few hours or overnight. This pulls out extra moisture, which is the enemy of crispy skin. Right before cooking, pat them dry one more time. This two-step drying process costs nothing and takes minimal effort, but it makes a real difference in how crunchy the finished skin turns out.
8. Cast Iron Skillet Sear and Finish
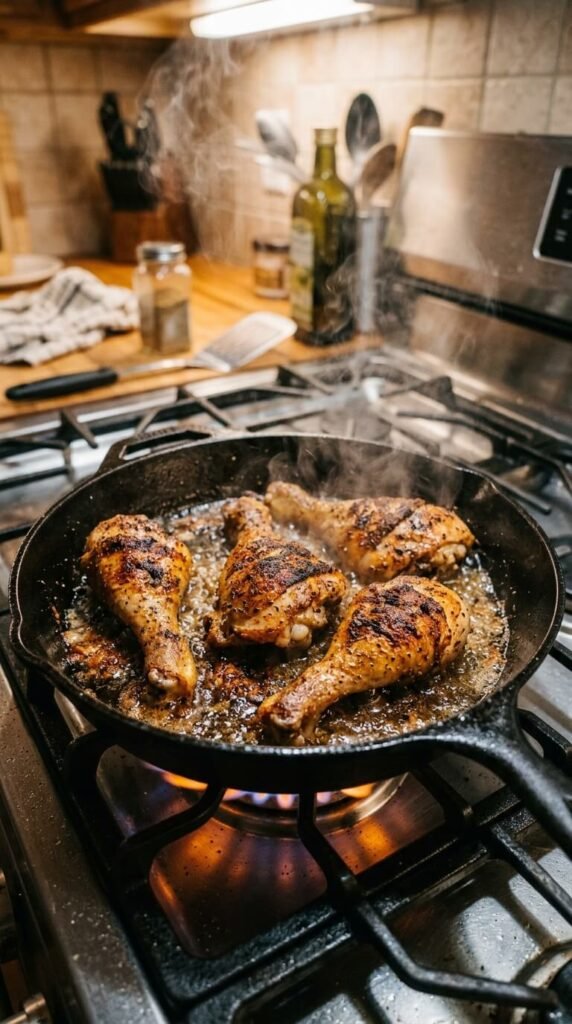
Searing chicken legs in a hot cast iron skillet before finishing them in the oven gives you crispy skin fast. Start skin-side down over medium-high heat for about 6 minutes, then transfer the whole skillet to a 400°F oven for 20 more minutes. Cast iron holds heat evenly, so the skin crisps all over. A secondhand cast iron pan from a thrift store works just as well as a new one, making this an affordable long-term kitchen tool.
9. Cornstarch Coating for Extra Crunch
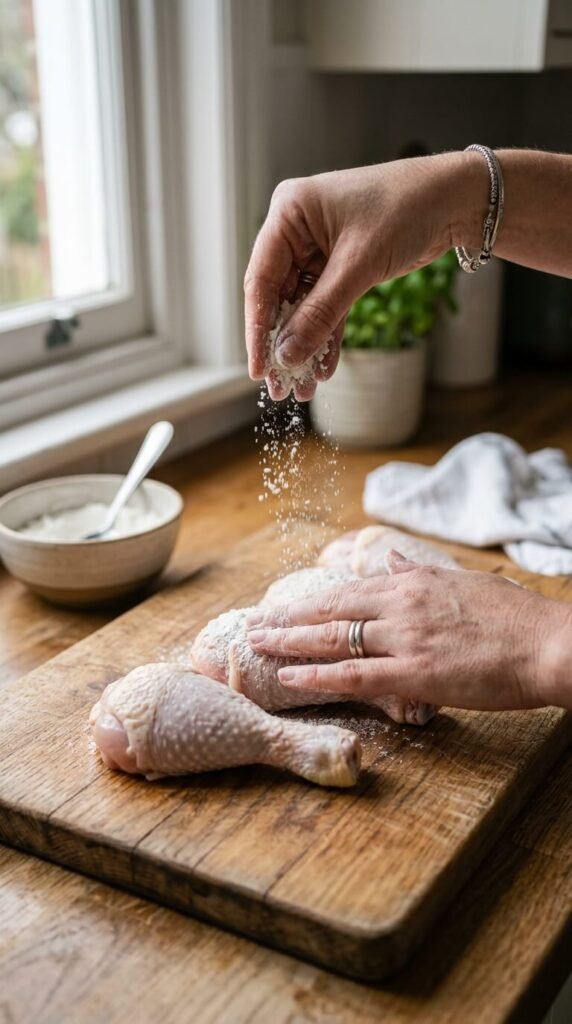
Cornstarch creates a thin, crispy shell when it hits hot oil or a hot oven. Toss the legs lightly in cornstarch before cooking, shaking off the extra. This coating absorbs moisture and turns golden and crunchy as it cooks. It’s a cheap pantry staple that works better than flour for texture. Bake or air fry as usual after coating. This trick is popular in many Asian-style fried chicken recipes and translates well to home ovens too.
10. Slow Cooker Then Broil Finish
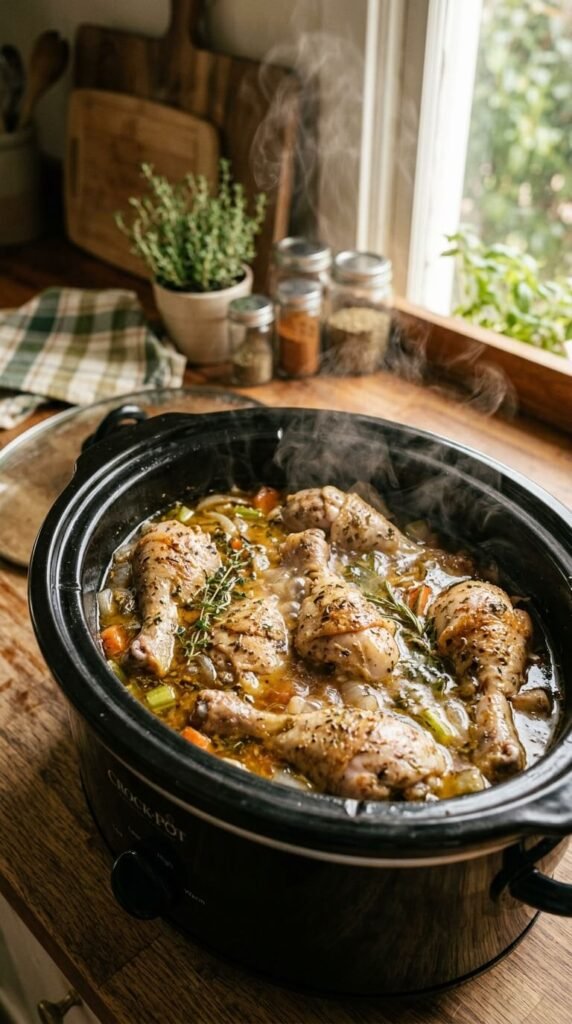
Cooking chicken legs low and slow makes the meat practically fall off the bone. Cook them in a slow cooker for four hours on low with just a splash of broth. Once tender, transfer the legs to a baking sheet and broil for five minutes to crisp the skin. This two-step method combines tenderness with crunch. It’s perfect for meal prepping since the slow cooker does most of the work while you handle other tasks.
11. Smoked Paprika Dry Rub
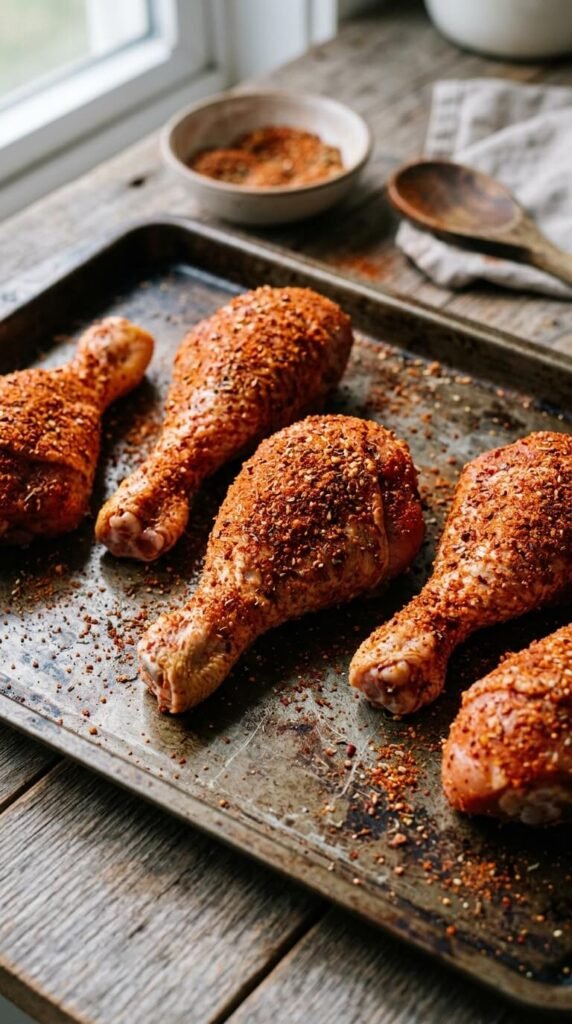
A simple dry rub adds flavor without adding moisture, which helps the skin stay crispy. Mix smoked paprika, garlic powder, salt, and pepper, then rub it directly onto dry skin. The spices toast slightly as they cook, adding a deep, smoky flavor. This rub costs very little and can be made in bulk to store in a jar for future meals. Great for anyone who wants restaurant flavor without buying pre-made seasoning blends.
12. Convection Oven Setting
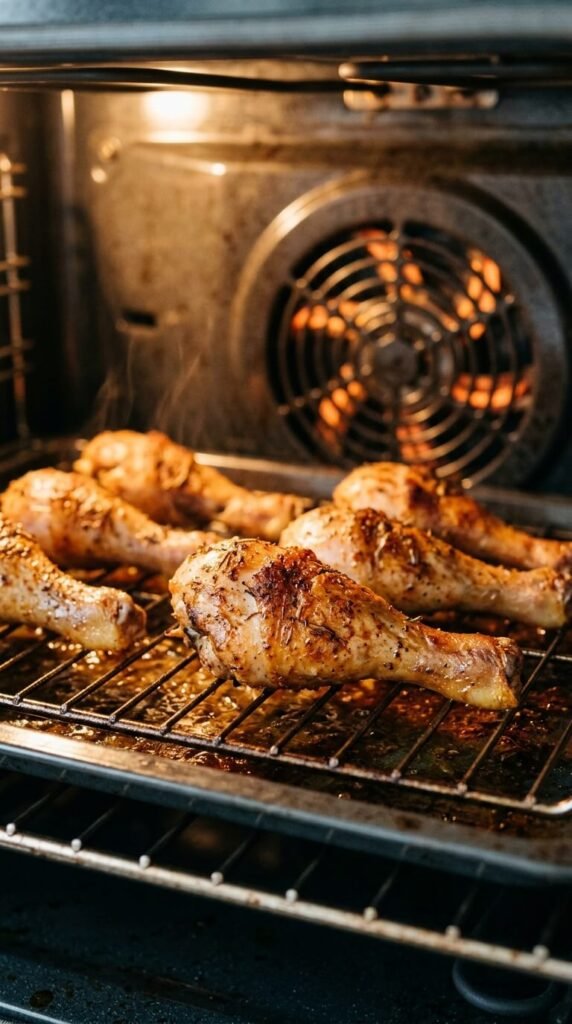
If your oven has a convection setting, use it. The fan circulates hot air around the chicken, cooking it more evenly and crisping the skin faster than a standard bake. Lower the temperature by about 25 degrees compared to a regular recipe since convection cooks faster. This setting is already built into many ovens, so there’s no extra cost involved. It’s an easy switch that noticeably improves texture without changing your recipe at all.
13. Honey Glaze Finish
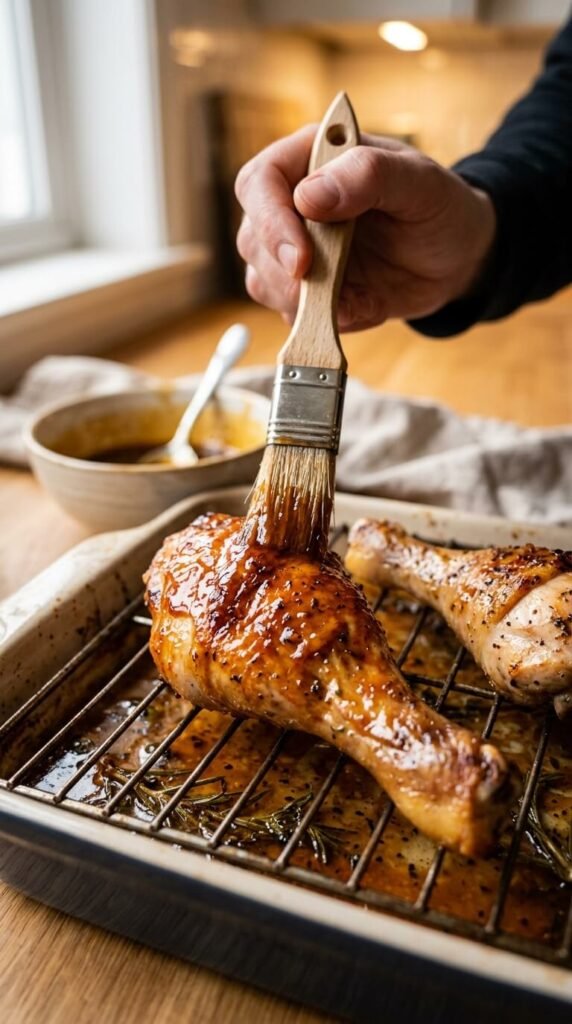
Adding a honey glaze in the last few minutes of cooking gives chicken legs a sticky, caramelized finish. Mix honey with a splash of soy sauce and brush it on during the final 10 minutes of baking or grilling. Watch closely so the sugar doesn’t burn. This glaze turns a plain recipe into something special using ingredients most people already have in their pantry. Kids especially love the sweet and savory combination this creates.
14. Bone-In Skin-On Only Rule
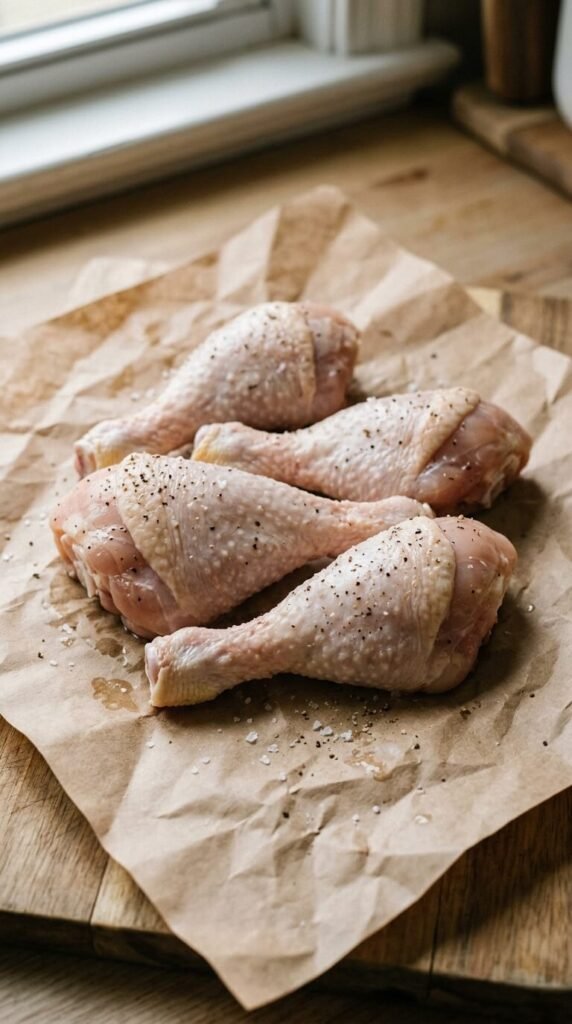
Always choose bone-in, skin-on chicken legs if crispy skin is the goal. The bone helps retain moisture while cooking, and the skin obviously can’t crisp if it’s not there. These cuts are usually cheaper than boneless options too, since they require less processing. Check your local grocery store’s weekly sale flyer — chicken legs are often discounted, making this one of the most budget-friendly proteins you can buy regularly.
15. Salt Brine Overnight
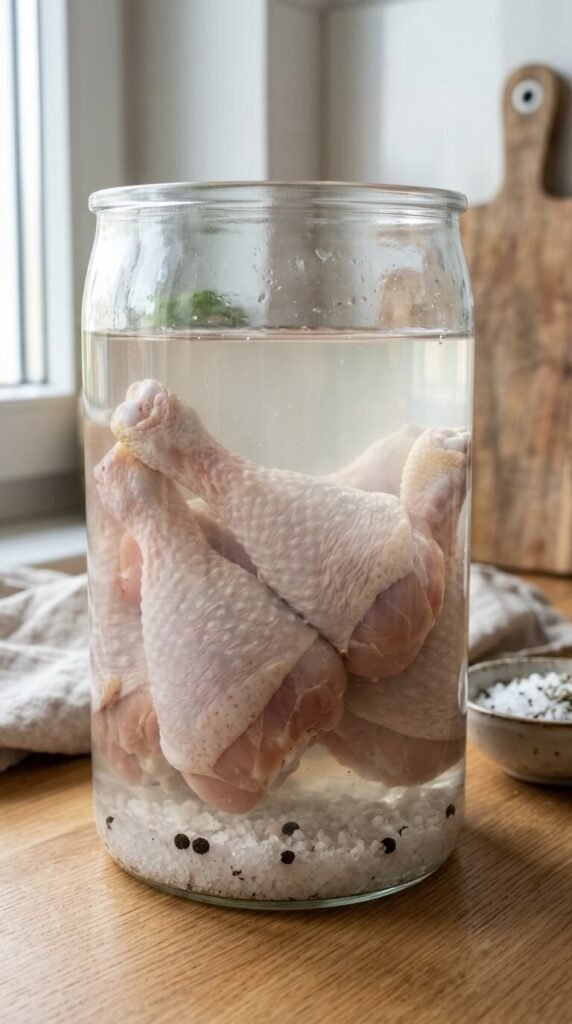
A basic saltwater brine keeps chicken legs juicy while helping the skin crisp during cooking. Dissolve salt in water, submerge the legs, and refrigerate overnight. Rinse and dry thoroughly before cooking. This method costs almost nothing and works with ingredients already in your kitchen. Brining is especially helpful if you tend to overcook chicken, since it adds a buffer of moisture that keeps the meat tender even with a few extra minutes on the heat.
16. Toaster Oven Method for Small Batches
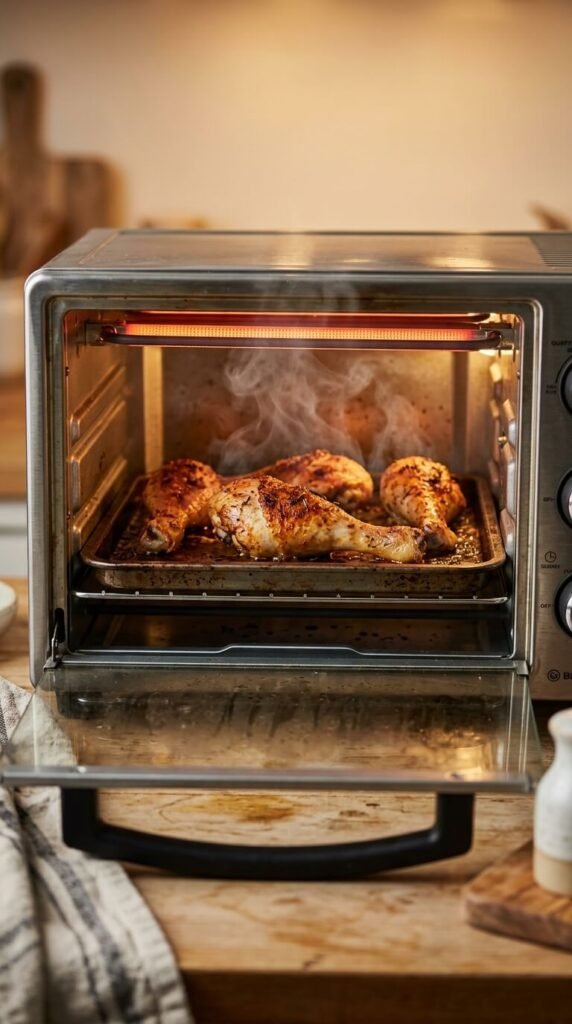
Cooking for one or two people doesn’t require a full-size oven. A toaster oven gets hot fast and crisps skin well in a smaller space. Set it to 400°F and cook for about 30 minutes, checking halfway through. This method uses less energy than heating a full oven and is ideal for small kitchens, dorms, or anyone trying to cut down on utility costs while still enjoying a home-cooked meal.
17. Vinegar Rub Before Cooking
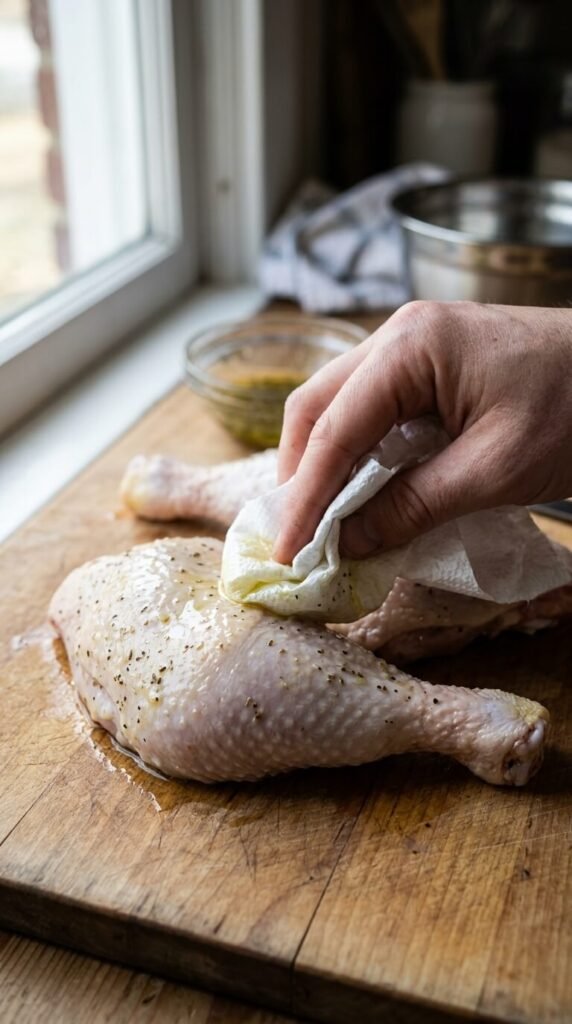
Rubbing chicken skin with a little white vinegar before cooking helps draw out moisture and tenderizes the surface slightly. Let it sit for 15 minutes, then pat completely dry. The acidity also helps season the meat lightly. This trick uses a pantry staple most people already have and adds almost no cost to your grocery bill. It’s a quiet but effective step that many home cooks skip without realizing how much it helps.
18. Foil Packet Steam Then Crisp
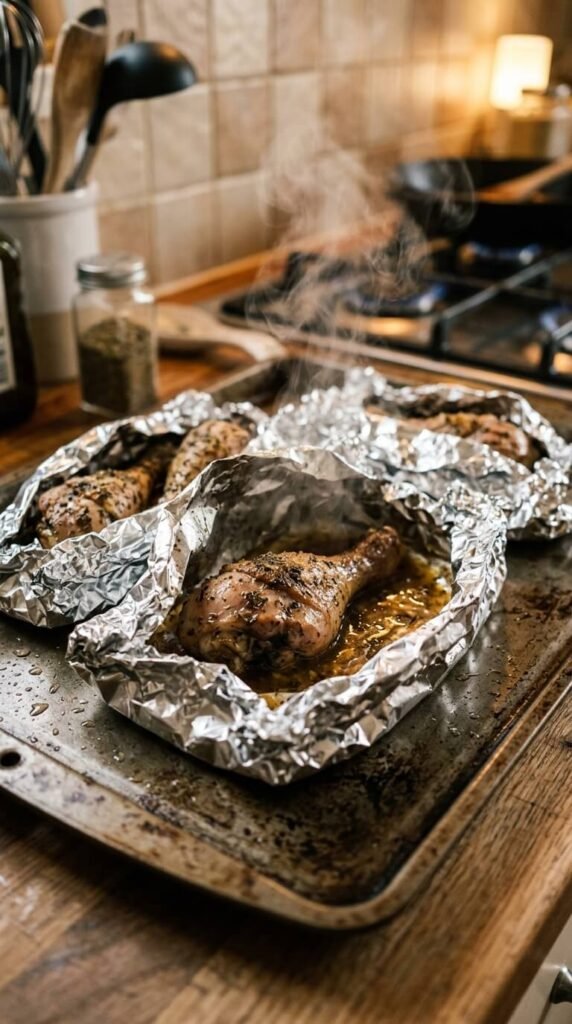
Wrapping chicken legs in foil for the first half of cooking locks in moisture, making the meat incredibly tender. Unwrap for the last 15 minutes and crank the heat to crisp the skin. This two-stage method works well in any standard oven and uses foil you likely already have at home. It’s especially useful for larger batches when you’re cooking for a family and want consistent results across every piece.
19. Cold Start Skillet Method
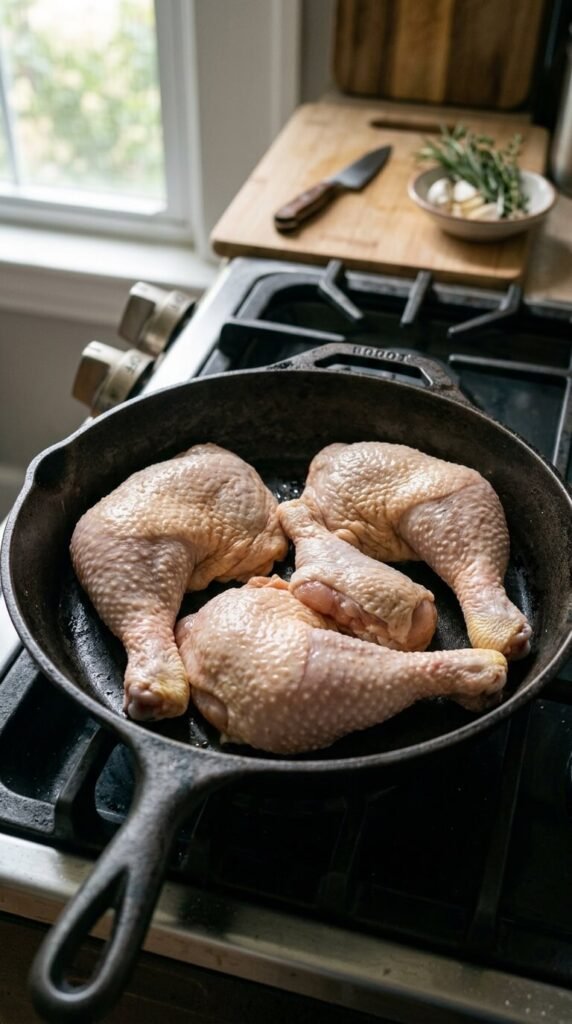
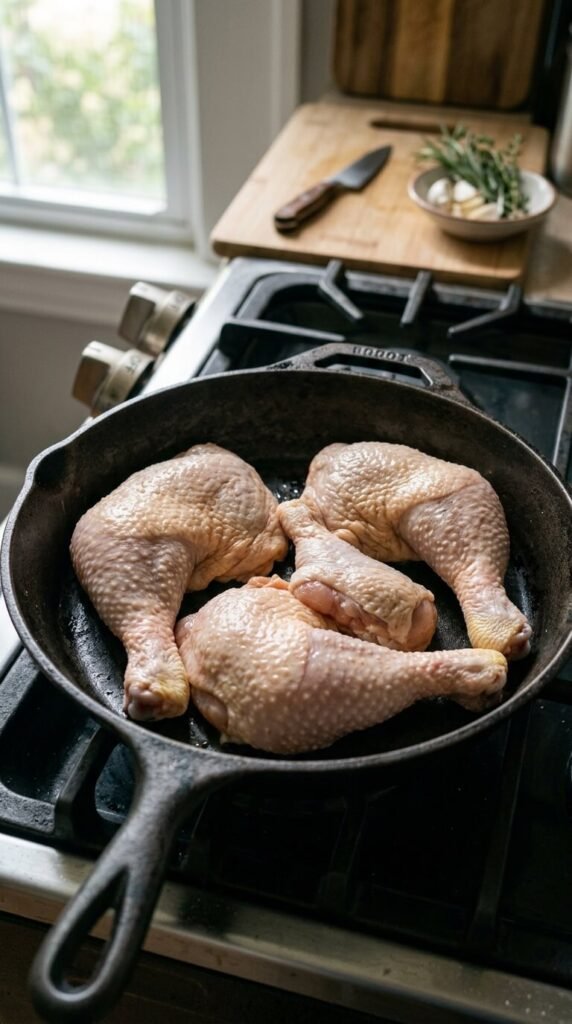
Starting chicken legs in a cold, unheated skillet and slowly bringing up the temperature renders fat more evenly. This gradual process prevents the skin from burning before the fat fully melts away. Once the skillet is hot, let the legs cook undisturbed for several minutes before flipping. This method takes a little patience but produces some of the crispiest skin possible using just a basic stovetop and a pan you already own.
20. Sheet Pan Vegetable Combo
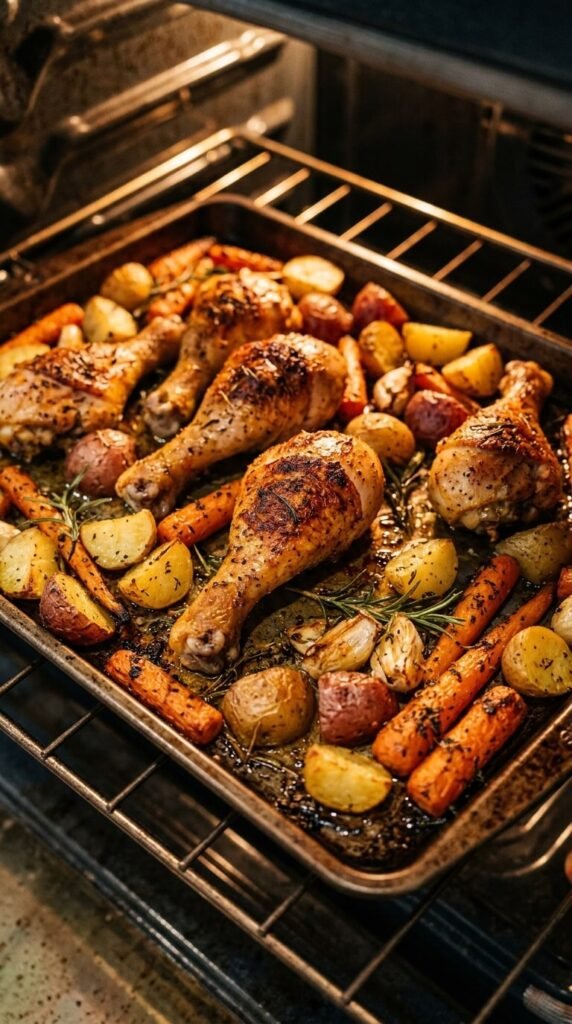
Roasting chicken legs alongside vegetables on one sheet pan saves time, dishes, and money. Potatoes, carrots, and onions soak up the rendered chicken fat, adding flavor while the skin crisps up on its own rack or edge of the pan. This one-pan method is perfect for busy weeknights and cuts down on grocery costs since you’re using budget vegetables that pair naturally with chicken. Minimal cleanup makes it even more appealing.
21. Rest Before Serving
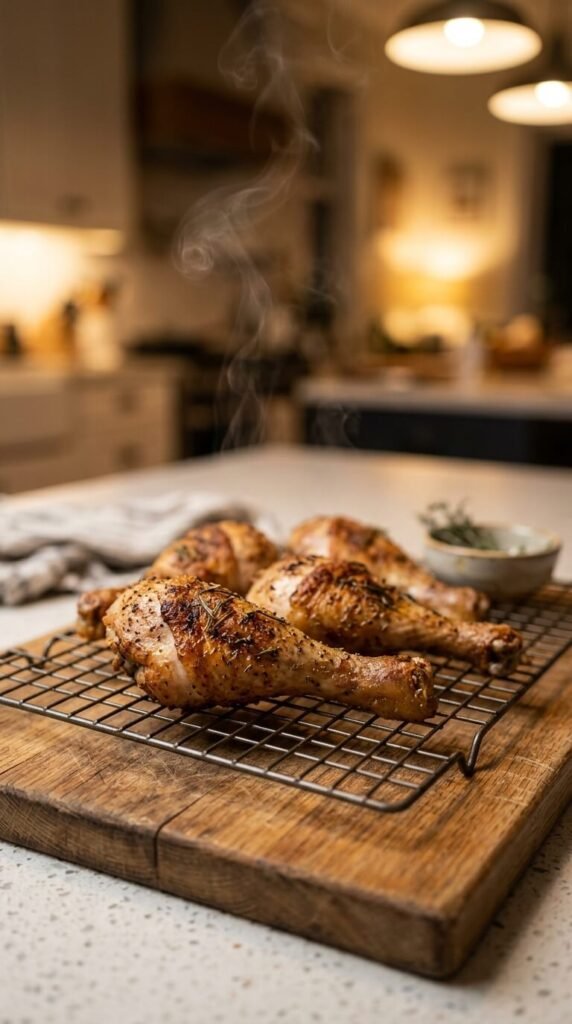
Letting chicken legs rest for five minutes after cooking keeps the juices inside instead of spilling out when you cut in. Resting on a wire rack, rather than a plate, also prevents the bottom skin from turning soft again. This step costs nothing and takes almost no effort, yet it makes a real difference in both texture and flavor. Patience here pays off with a juicier bite and skin that stays crunchy longer.
22. Reheating Without Losing Crispiness
Leftover chicken legs don’t have to turn soggy. Skip the microwave and reheat them in an air fryer or oven at 375°F for about 10 minutes instead. This brings back the crunch without drying out the meat. Store leftovers uncovered or loosely covered in the fridge so condensation doesn’t soften the skin overnight. This small habit change makes meal prep far more enjoyable, since your second serving tastes almost as good as the first.
Conclusion
Crispy skin and tender, fall-off-the-bone meat don’t require expensive equipment or complicated techniques. From simple pantry tricks like baking powder and cornstarch to cooking methods like air frying, grilling, and slow cooking, there’s an approach here for every kitchen and every budget. Pick a few methods that fit your schedule, try them out, and see which one becomes your new go-to. Your next batch of chicken legs is closer to perfect than you think.