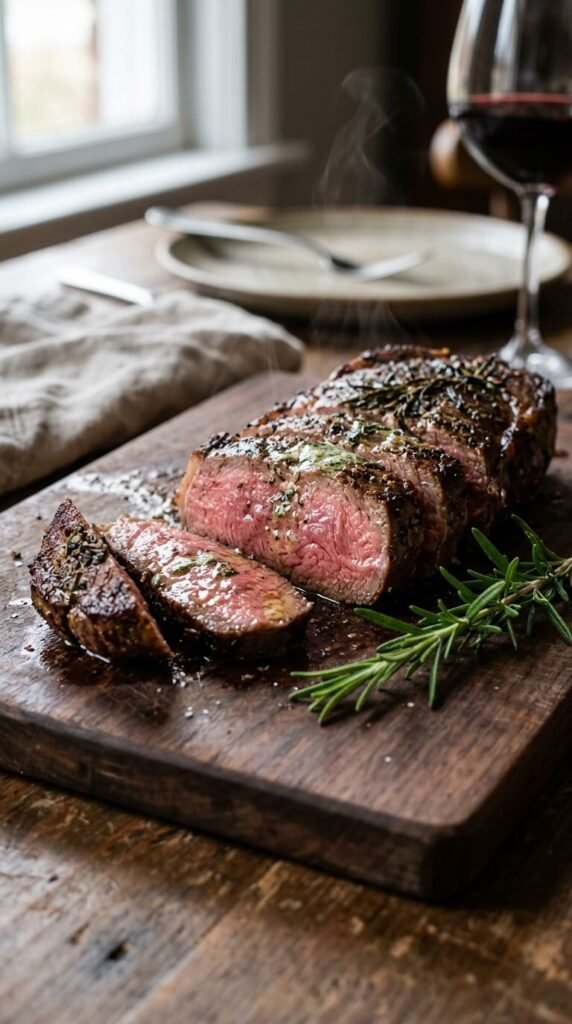
Beef tenderloin has a name for being pricey and hard to get right. One extra minute in the pan and that soft, buttery cut turns dry and tough. But the fix is simpler than most recipes make it sound. A handful of small habits — how you salt it, which pan you grab, when you let it rest — decide whether dinner turns out soft and pink or chewy and flat. This list walks through 26 practical, budget-friendly ways to cook beef tenderloin fast without losing that juicy center. No special gear required. No guesswork. Just steps you can use tonight, whether you’re searing medallions for two or roasting a whole cut for a weekend meal.
1. Pat the Meat Bone-Dry Before You Sear
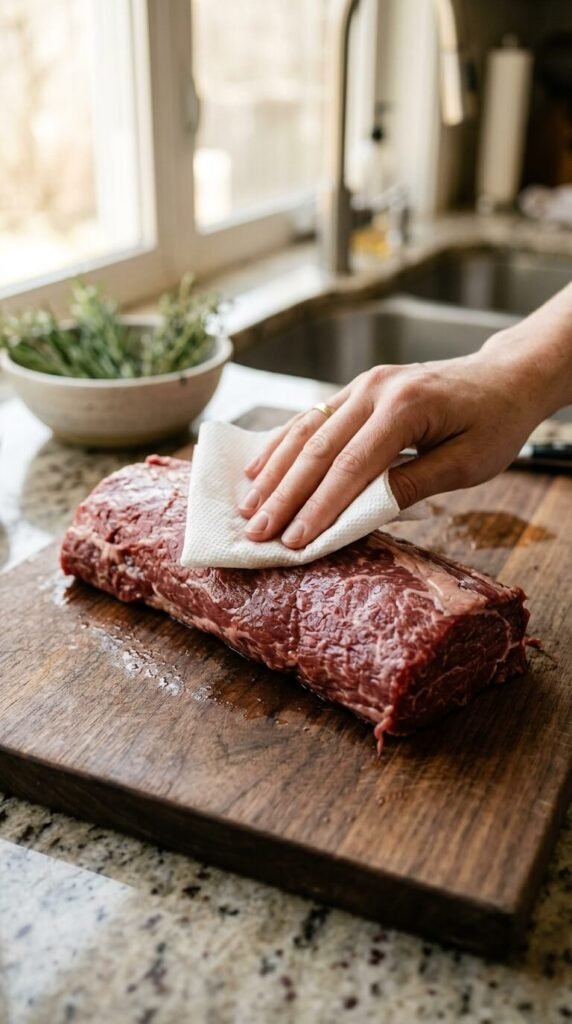
Wet meat doesn’t sear. It steams. And steamed meat turns gray instead of golden. Before anything hits the pan, grab a paper towel and pat the surface dry on all sides. This one small step makes a real difference in the crust you get. No need for fancy cloths — the cheapest roll from the store works fine. Dry meat browns faster, which means less time in the pan overall. Less time in the pan means less chance of overcooking the middle. It’s a 30-second habit that costs nothing and pays off in every bite.
2. Let It Sit at Room Temperature First
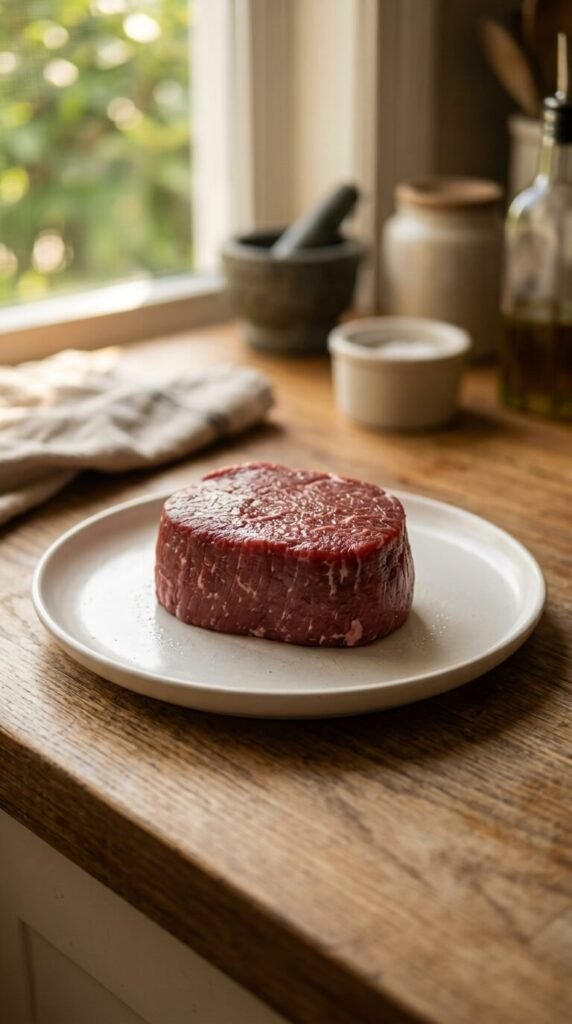
Cold meat straight from the fridge cooks unevenly. The outside finishes long before the center catches up. Set your tenderloin out on a plate for 20 to 30 minutes before cooking. No special tray needed — any plate from your cabinet does the job. This small wait lets the meat cook at a steady pace all the way through. You’ll get a more even color from edge to center, and you won’t need to guess as much about timing. It costs nothing but a few extra minutes, and it makes a real difference in the final texture.
3. Salt It an Hour Before Cooking
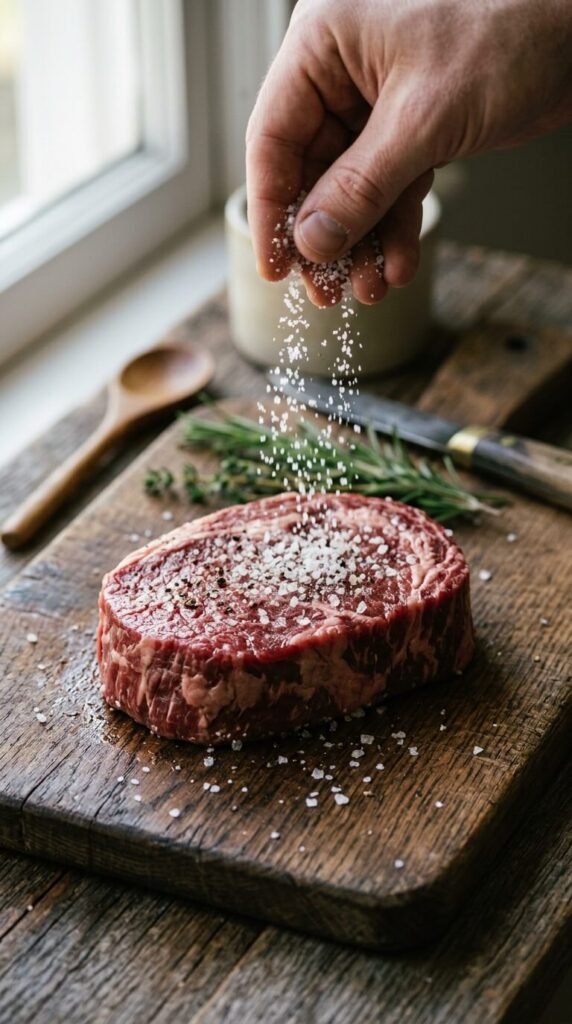
Salting early, not right before cooking, changes everything. Coarse salt pulls a little moisture out at first, then that moisture dissolves the salt and gets pulled back in. The result is meat seasoned all the way through, not just on the surface. Do this about an hour ahead if you have the time. Plain kosher or coarse sea salt works fine — no need for anything special or costly. Short on time? Even 15 minutes helps. Just skip salting right before the pan; that only draws moisture out without giving it time to soak back in.
4. Grab a Cast-Iron Skillet for the Sear
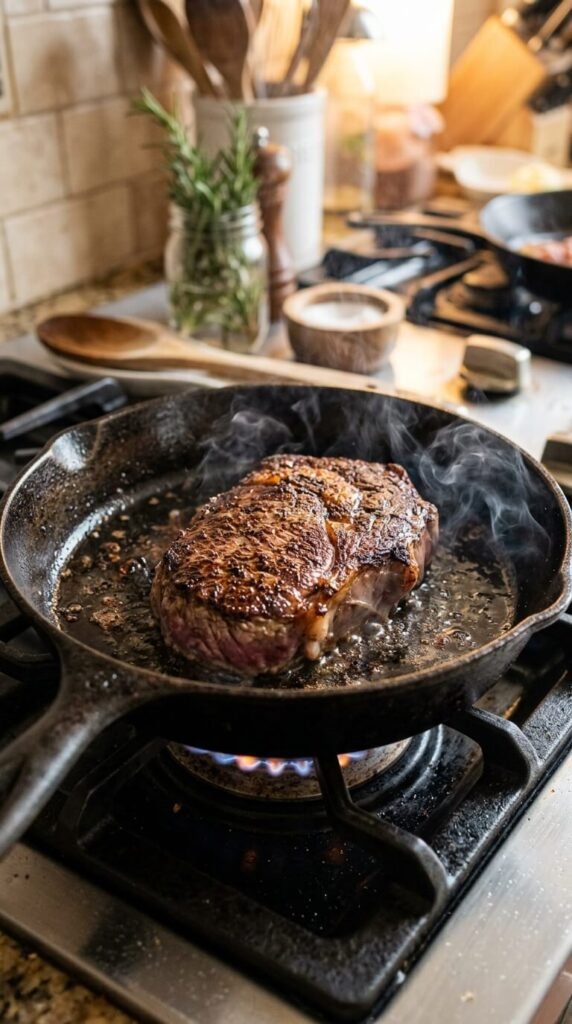
Cast iron holds heat and spreads it evenly. That means a steady sear from edge to edge instead of hot spots that burn while other parts stay pale. A secondhand cast-iron pan from a thrift store or yard sale works just as well as a new one, sometimes better once it’s seasoned. If you don’t own one yet, they’re one of the cheapest kitchen tools you can buy that lasts decades. Heat it properly before adding the meat, and you’ll get a deep brown crust without needing a nonstick coating or anything fancy.
5. Skip the Fork, Use Tongs Instead
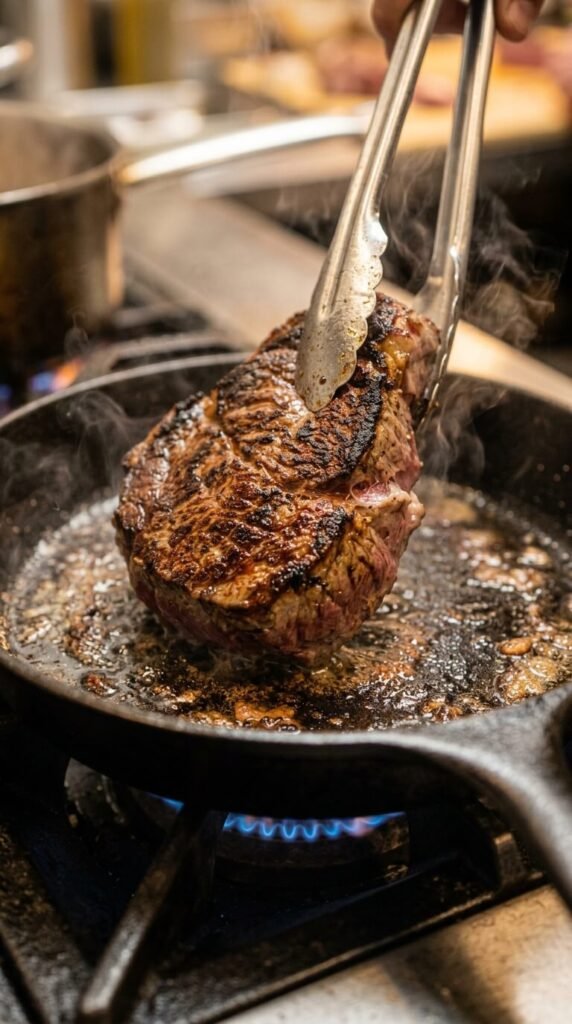
A fork looks like the easy tool, but it punches holes straight into the meat. Every hole lets juice run out onto the pan instead of staying inside where it belongs. Tongs grip the outside without piercing anything. A basic pair costs very little and works for the life of your kitchen. Use them to flip, turn, or move the meat around the pan. It’s a small swap, but it keeps more moisture locked inside the tenderloin instead of pooling underneath it. Simple change, better result, no cost to speak of.
6. Start Hot, Then Turn the Heat Down
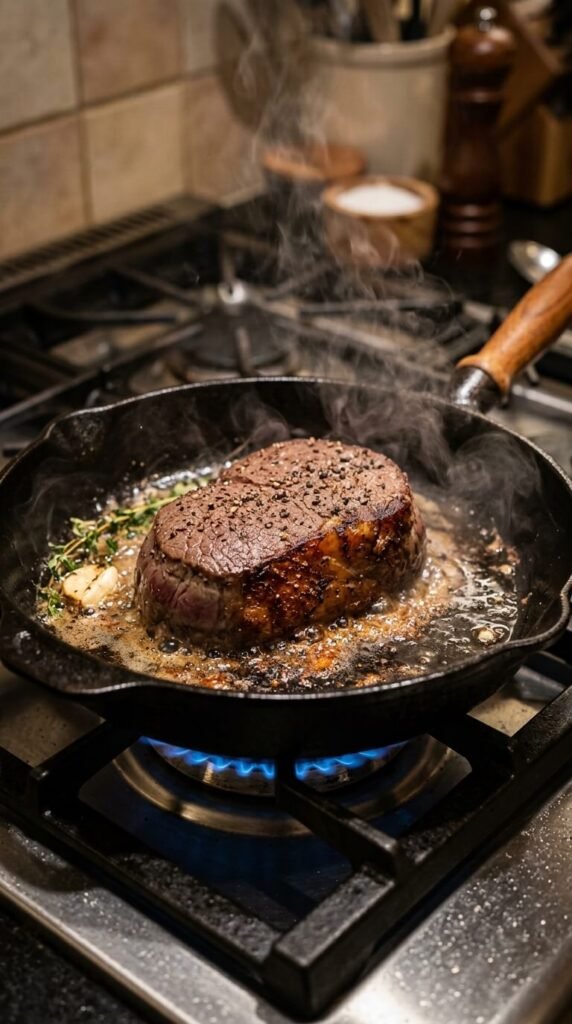
A hard sear builds color and flavor fast. But if you leave the heat high the whole time, the outside burns before the inside catches up. Sear hard for 1 to 2 minutes per side, then drop the heat to medium so the center can catch up gently. This two-stage method gives you a deep brown crust without a scorched top layer. No special equipment needed, just a hand on the dial. It’s the same trick behind most good steakhouse cooking, and it works just as well on a home stove.
7. Baste With Butter and Garlic Near the End
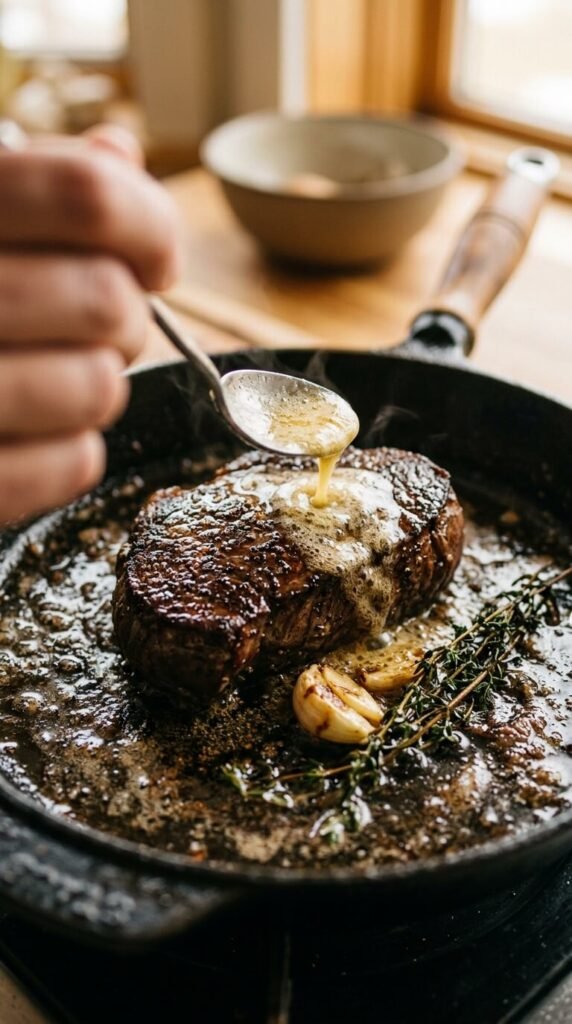
In the last couple minutes of cooking, drop in a spoon of butter, a smashed garlic clove, and any herb you have on hand. Tip the pan and spoon the melted butter over the meat again and again. This bastes the surface in fat, which adds flavor and helps keep the meat from drying out on top. You don’t need herb sprigs from the garden — dried thyme or rosemary from the spice rack works fine. It’s a restaurant trick that costs almost nothing at home and makes the meat taste far more finished than the effort it takes.
8. Rest the Meat Before You Cut Into It
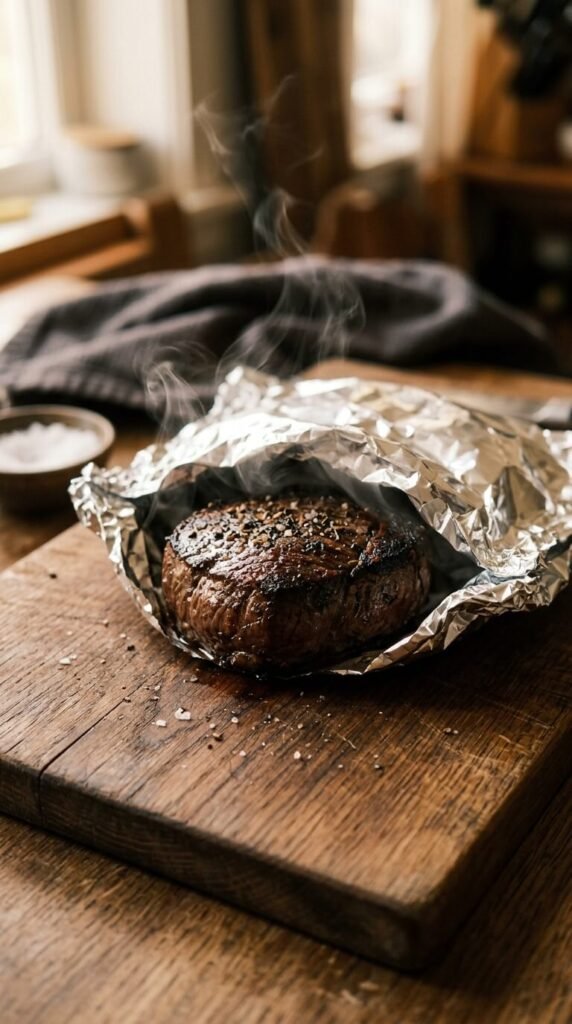
Cutting into meat right off the heat lets all the juice run straight onto the board instead of staying in the meat. Let it sit 5 to 10 minutes, loosely covered with foil, before you slice. During this time, the juices settle back through the meat instead of pooling at the surface. This step costs nothing but patience. Skipping it is one of the most common reasons tenderloin turns out drier than expected. Set a timer if you need to, walk away, and let the meat do its thing while you finish a side dish.
9. Use a Meat Thermometer Instead of Guessing
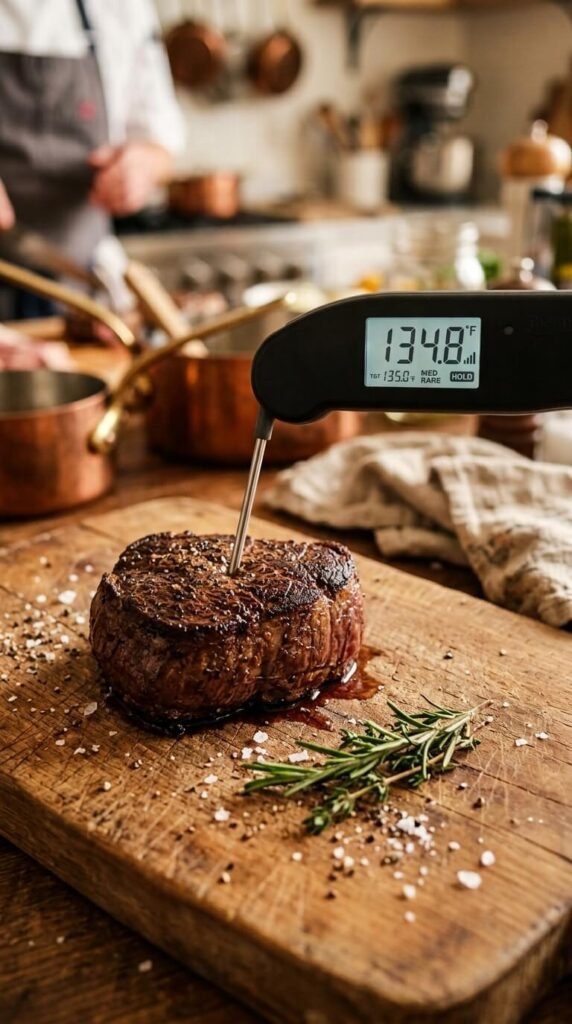
Cutting into meat to check doneness lets juice escape before you even serve it. A basic thermometer solves that problem completely. Pull the meat at 130 to 135°F for medium-rare, keeping in mind the temperature climbs a few more degrees while it rests. You don’t need an expensive digital model — a simple analog dial thermometer from a discount store works just as well. This one small tool takes the guesswork out of cooking and saves you from cutting into meat too early just to check.
10. Always Slice Against the Grain
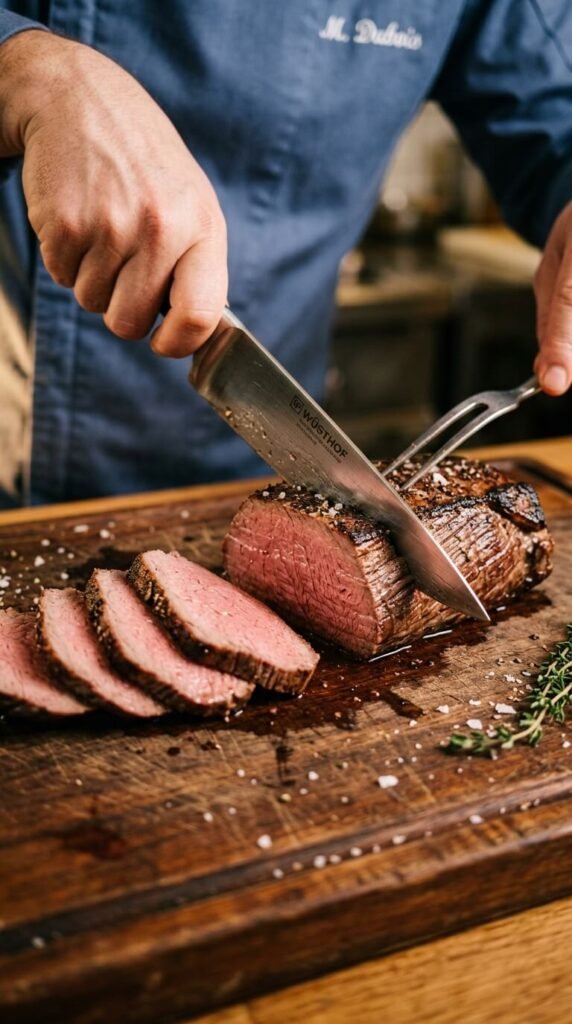
Look closely at the meat and you’ll see thin lines running through it — that’s the grain. Cutting against those lines, not along them, shortens the muscle fibers in each bite. Shorter fibers mean each slice feels softer in your mouth, even if the cooking was identical. This costs nothing and takes the same amount of time as cutting the wrong way. Not sure which direction the grain runs? Look at the raw meat before cooking, and remember which way to angle your knife once it’s time to plate.
11. Tie the Roast for an Even Shape
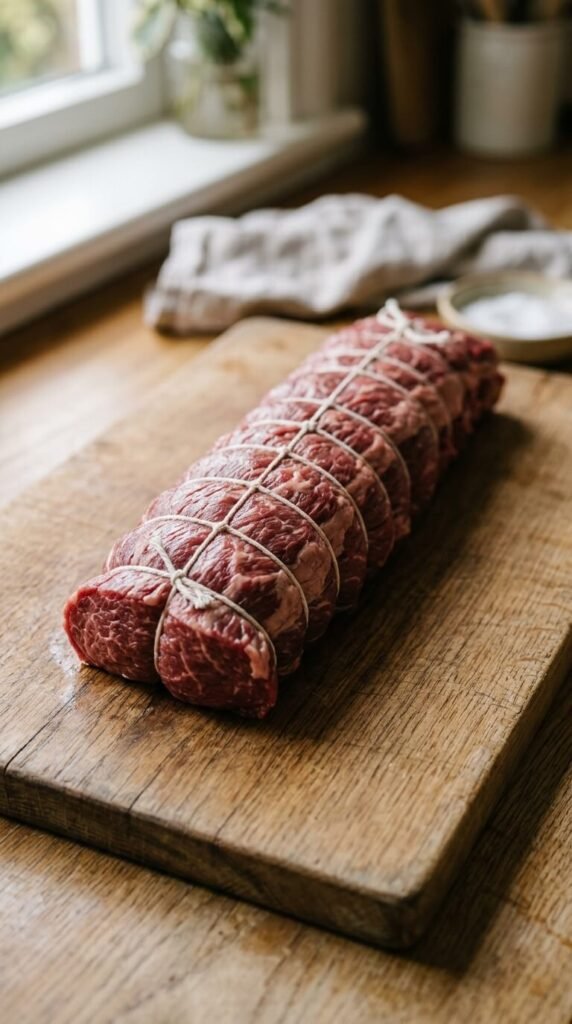
A whole tenderloin roast tapers — thick on one end, thin on the other. Left as-is, the thin end overcooks while the thick end is still catching up. Tying the roast with kitchen twine every couple inches evens out the shape, so it cooks at a more consistent rate all around. Plain cotton twine from a hardware store works fine — no need for anything labeled specifically for kitchens. No twine on hand? Even folding the thin end under and securing it with a toothpick helps even things out.
12. Wait for the Oil to Shimmer First
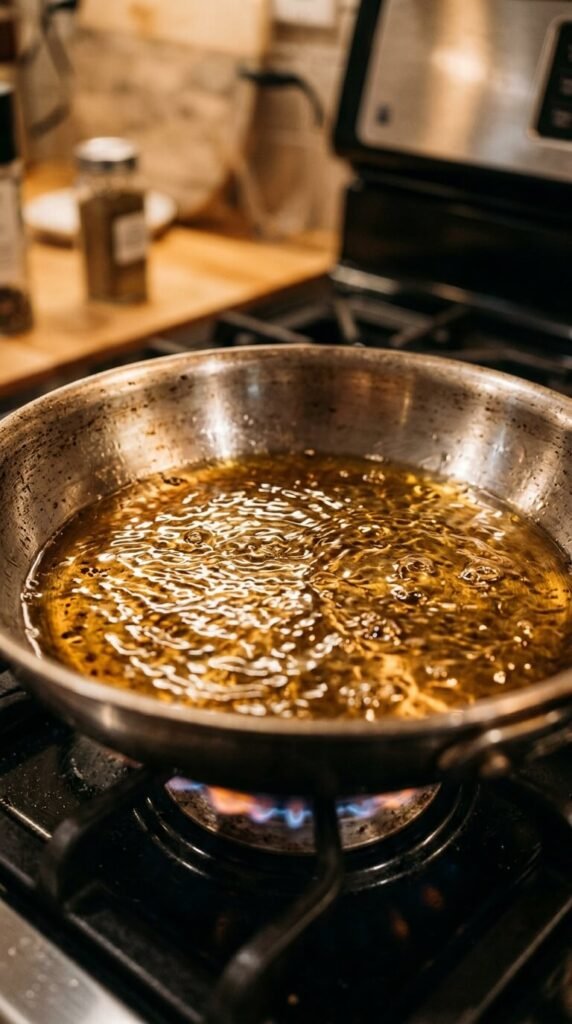
Adding meat to a cold or barely warm pan sets you up for steamed meat instead of a good sear. Wait until the oil starts to shimmer and move slightly before adding anything. This usually takes a minute or two on medium-high heat. Any basic cooking oil with a decent smoke point works — you don’t need anything specialty or costly. Rushing this step is one of the fastest ways to end up with pale, flat-tasting meat instead of a deep golden crust. Patience here costs nothing but a couple extra minutes.
13. Add Herbs to the Pan While It Cooks
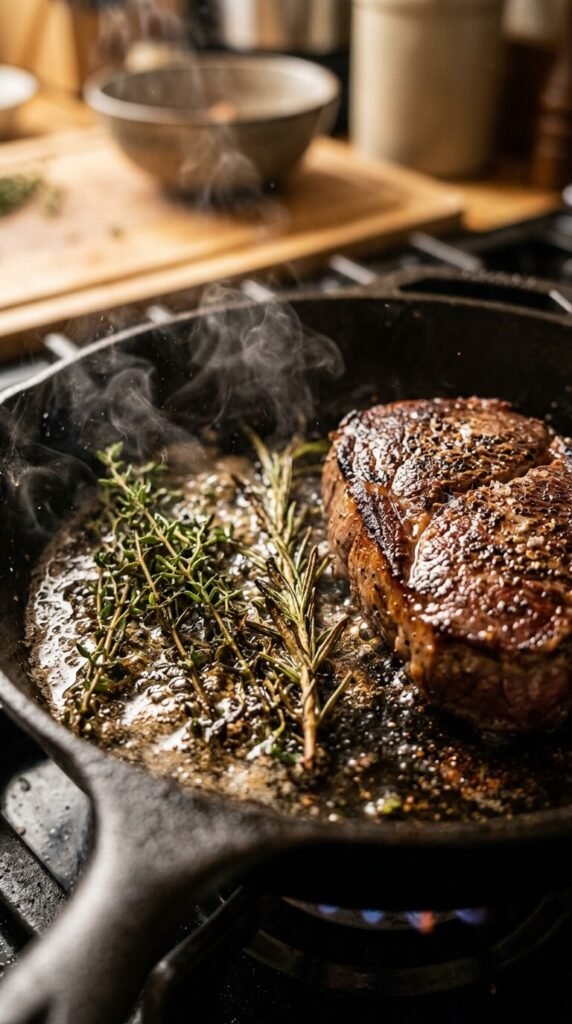
Herbs dropped into the pan during the last few minutes infuse the fat with flavor, and that fat then coats the meat as it finishes. Thyme and rosemary hold up well to heat and work especially well here. Nothing on hand from the garden? Dried versions from the spice rack do the job too — just add them a little earlier since they release flavor more slowly. This step adds depth without needing a separate sauce or marinade, and costs next to nothing if you’re using what’s already in your kitchen.
14. Finish Thick Cuts in the Oven
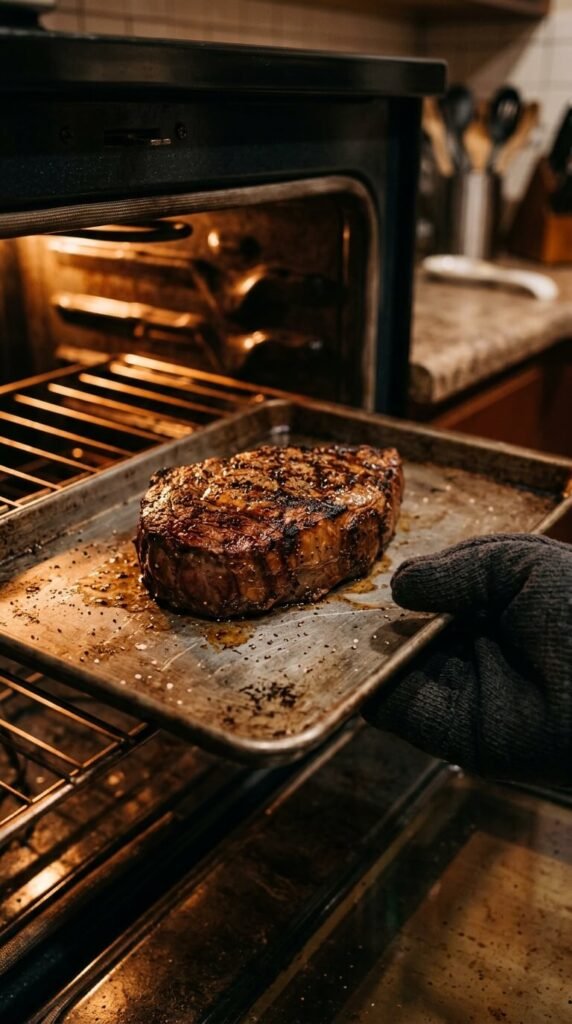
For steaks thicker than about 1.5 inches, the stovetop alone can leave you with a burnt crust and a cold center. Sear it hard on both sides first, then slide the whole pan into a 400°F oven for a few more minutes to finish gently. Any oven-safe skillet works for this — you don’t need special cookware. This two-step method gives you an even center without sacrificing the crust you built on the stove. It’s the same approach many restaurants use, and it translates easily to a home kitchen.
15. Don’t Crowd the Pan
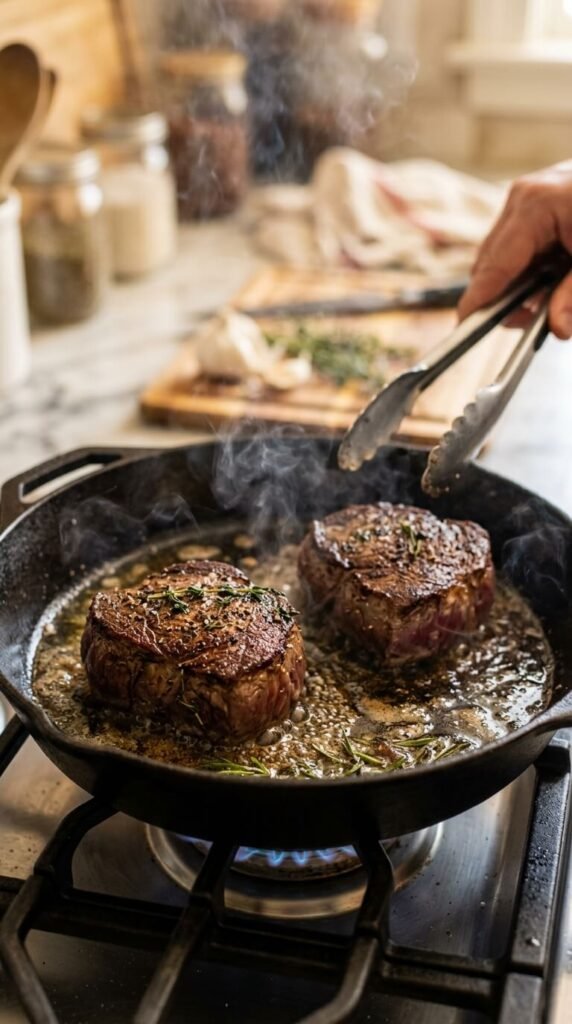
Cramming too much meat into one pan drops the temperature fast, and a cooler pan means steaming instead of searing. Leave space between each piece — at least an inch if you can manage it. Cooking for a crowd? Work in batches instead of piling everything in at once. It takes a little longer, but the result is worth it. A crowded pan is one of the most common reasons home-cooked steak turns out gray and chewy instead of browned and tender, and fixing it costs nothing but a bit more time.
16. Go Light on Acidic Marinades
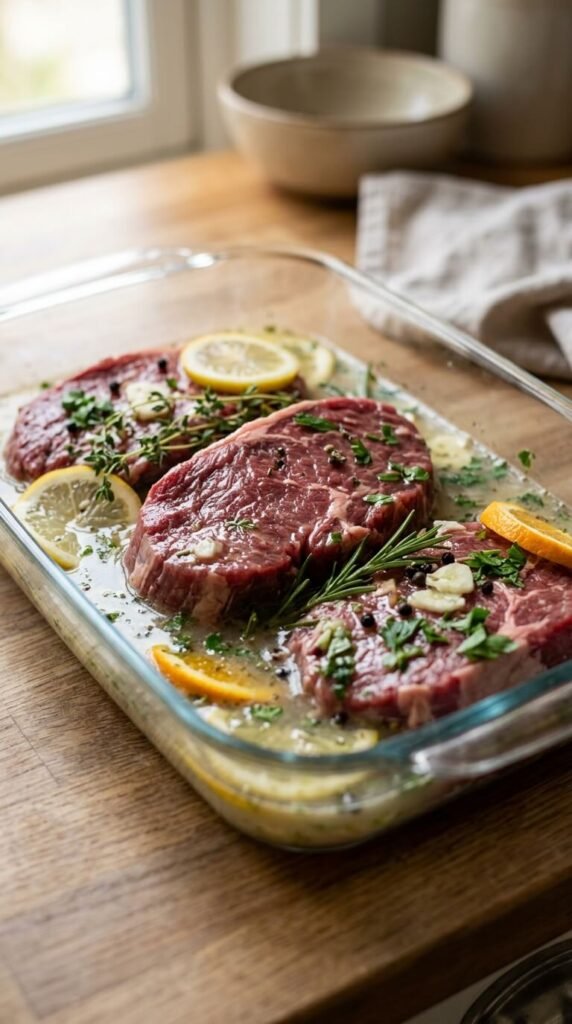
A splash of lemon or vinegar can add flavor, but too much acid over too long breaks down the meat’s texture the wrong way, turning it mushy instead of tender. Keep acidic marinades short — 30 minutes or less for a cut this delicate. Tenderloin is already soft on its own, so it doesn’t need hours of marinating like tougher cuts do. A light mix of oil, a small amount of citrus, and herbs is plenty. Save the long soak for cheaper, tougher cuts that actually need the extra time to break down.
17. Pick Center-Cut Medallions for Even Cooking
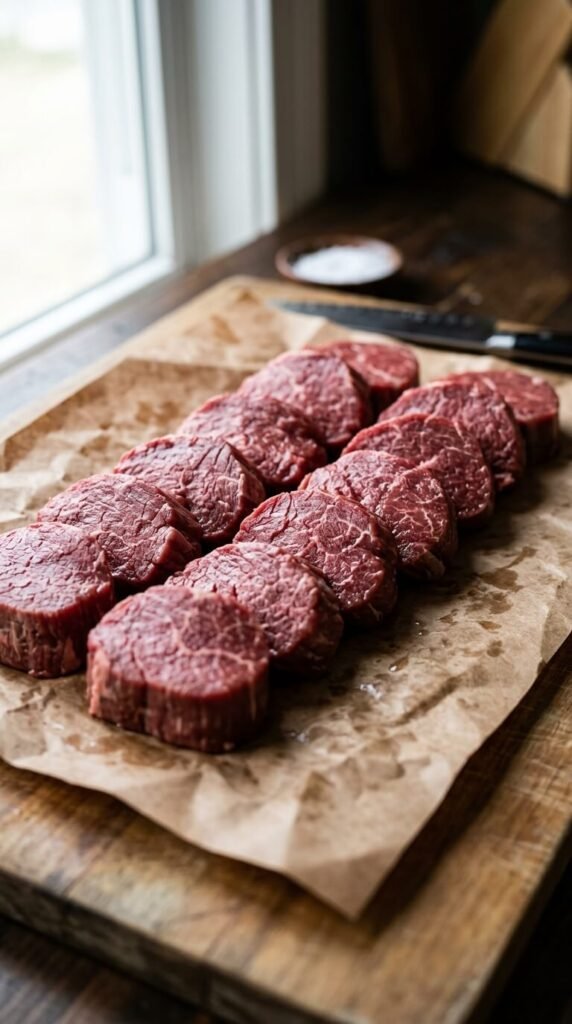
Buying medallions instead of a whole roast? Look for pieces cut from the center of the tenderloin. These slices come out more uniform in thickness than end pieces, which means they finish cooking at roughly the same time. Ask your butcher for center cuts specifically — it usually costs the same as asking for random pieces. Even thickness across your batch means less babysitting the pan and fewer pieces that finish early or late. It’s a small request that makes cooking for a group far less stressful.
18. Try the Reverse Sear for Thick Steaks
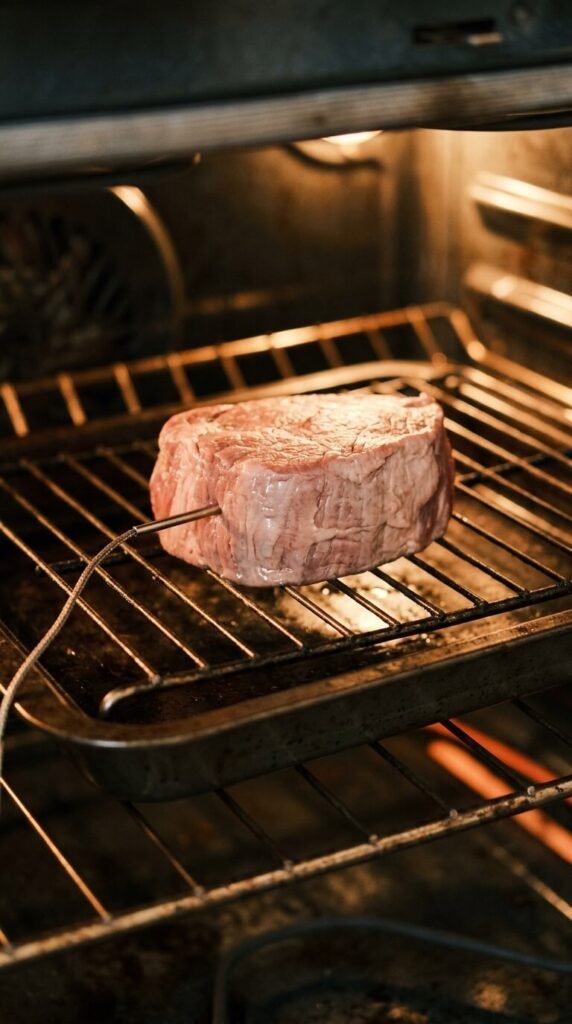
The reverse sear flips the usual order. Cook the meat low and slow in the oven first, around 250°F, until it’s close to your target temperature. Then finish it with a hot, fast sear in a pan for just a minute or two per side. This gives you an evenly cooked center from edge to edge, with a crust built right at the end instead of holding heat the whole time. It takes a little more planning, but it’s nearly foolproof for thick cuts and takes nothing beyond a basic oven and skillet.
19. Keep the Pan Hot Between Batches
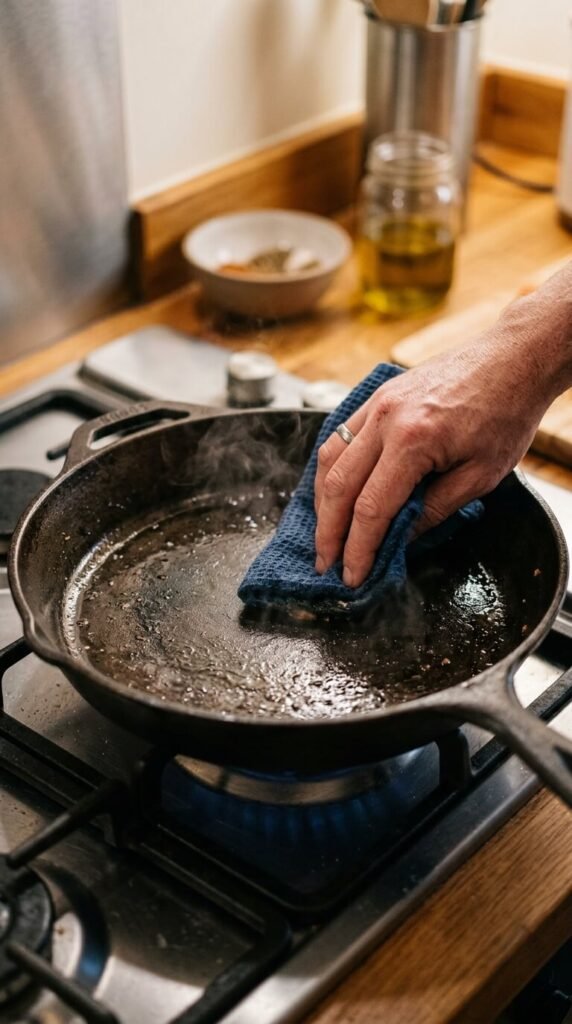
Cooking in batches keeps the pan from getting crowded, but only if you keep the heat up between rounds. Wipe the pan out, don’t wash it, and let it come back up to temperature for a minute before adding the next batch. Washing mid-cook cools the pan down fast and adds time you don’t need to spend. A quick wipe with a paper towel clears out burnt bits without losing heat. This small habit keeps every batch searing at the same quality as the first one.
20. Make a Fast Pan Sauce After Searing
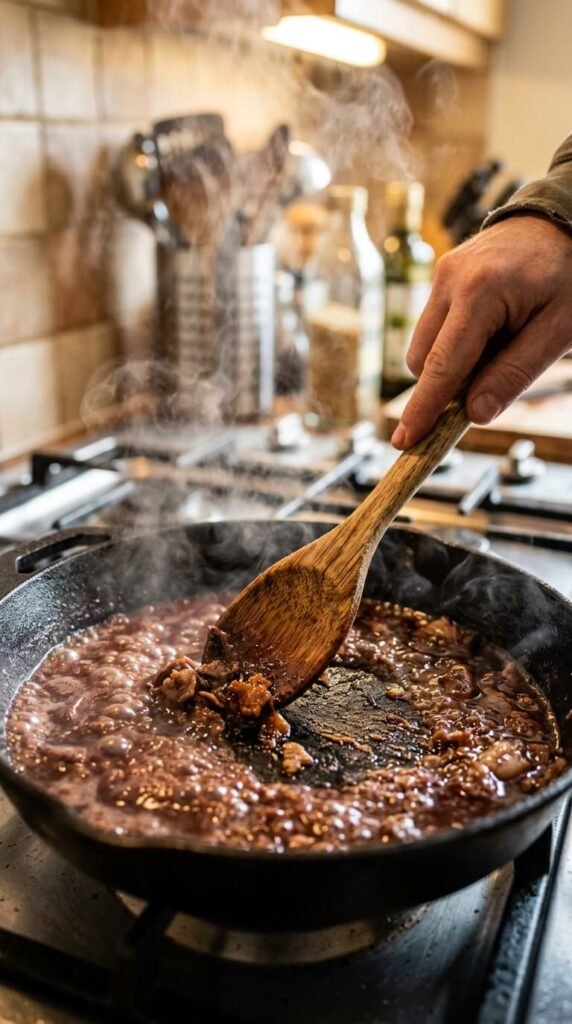
Don’t toss out what’s stuck to the bottom of the pan after searing — that’s flavor waiting to happen. Add a splash of broth, wine, or even water, and scrape up the browned bits with a wooden spoon. Let it bubble down for a minute or two, then pour it over your sliced meat. Leftover wine from another meal works perfectly here, so there’s no need to buy anything extra. This step turns a plain seared steak into something that tastes like it took far more effort than it actually did.
21. Trim the Silver Skin Before Cooking
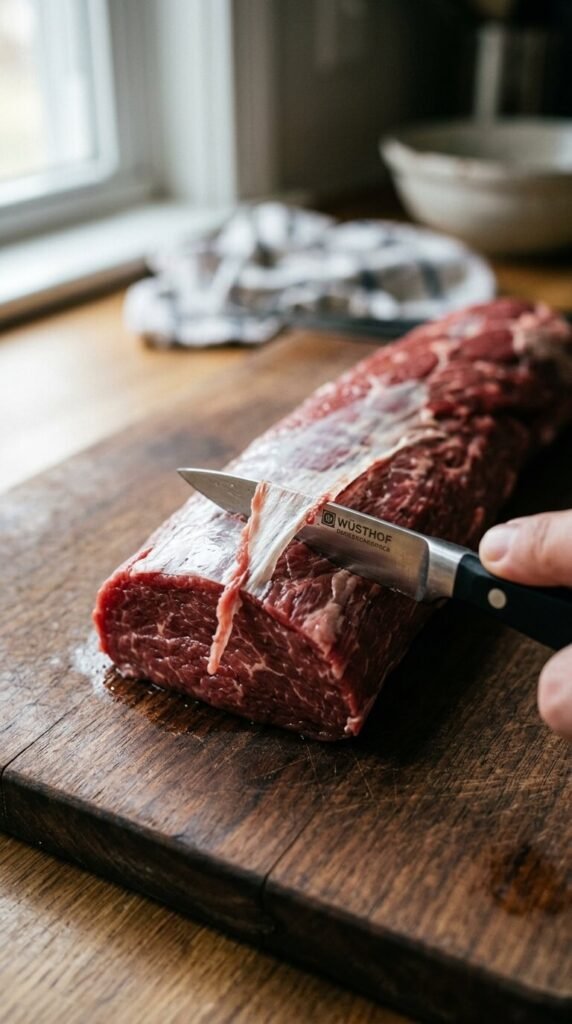
That thin, silvery membrane running along one side of the tenderloin doesn’t soften no matter how you cook it. Left on, it turns chewy and pulls the meat into an odd shape as it cooks. Slide a sharp paring knife just under the edge of it and pull it away in one long strip. You don’t need a specialty boning knife — any thin, sharp blade from your kitchen drawer does the job. A couple minutes of trimming before cooking makes every following step, from searing to slicing, turn out cleaner and more even.
22. Wrap It in Bacon for Extra Moisture
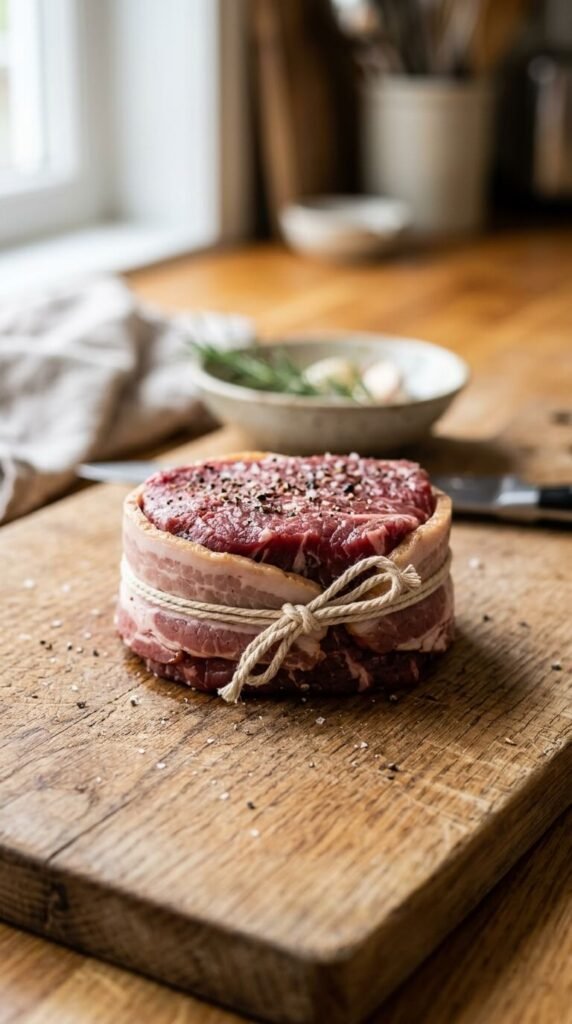
Tenderloin is a lean cut, which means it doesn’t have much built-in fat to keep it moist on its own. Wrapping it in bacon before cooking adds fat that renders and bastes the meat from the outside in. Secure it with a toothpick or a bit of twine so it stays put while cooking. Buying the cheaper bacon ends-and-pieces pack works just as well here as pricier strips, since it’s getting wrapped and cooked either way. It’s a simple trick that adds flavor and moisture without any extra cooking steps.
23. Use a Splatter Screen to Control the Heat
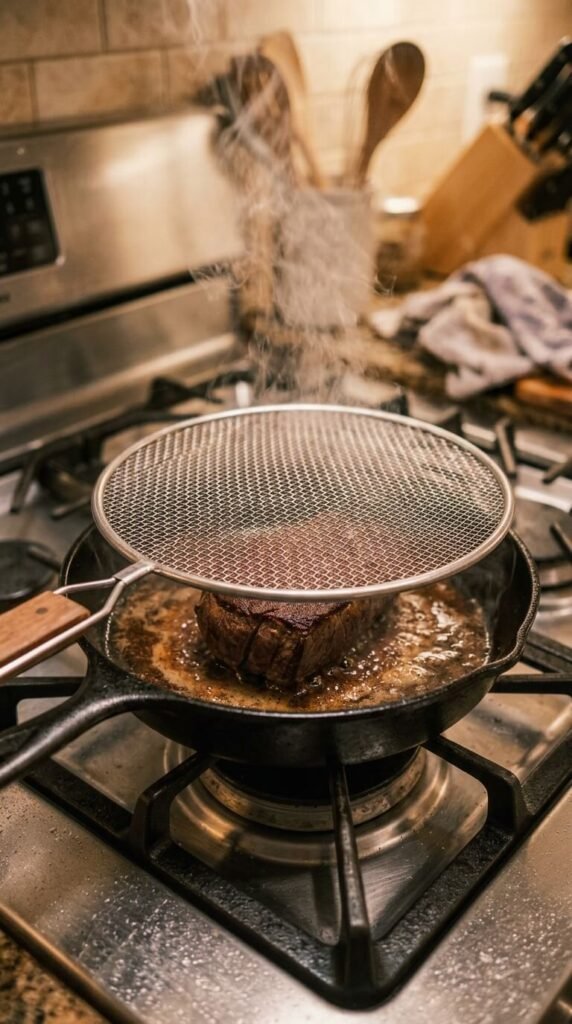
A hot pan means oil popping everywhere, which often tempts people to turn the heat down just to keep the mess under control. A cheap splatter screen solves that problem without sacrificing heat. It lets steam escape while blocking most of the mess, so you can keep the pan hot the whole time the meat sears. These screens cost very little and last for years. It’s a small purchase that protects both your stovetop and your sear, letting you cook with confidence instead of backing off the heat too soon.
24. Pull the Meat a Few Degrees Early
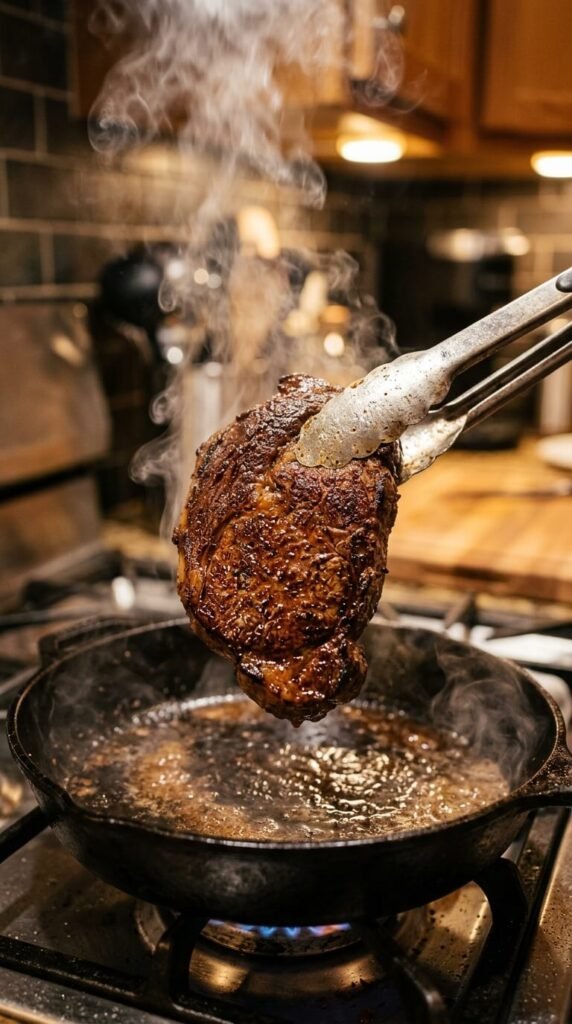
Meat keeps cooking even after it leaves the heat. This is called carryover cooking, and it can raise the internal temperature another 5 degrees or more while resting. Wait until the thermometer hits your exact target before pulling it, and you’ll likely overshoot by the time it’s rested and ready to slice. Pull the meat off the heat 5 degrees below your target instead. It costs nothing to adjust your timing this way, and it’s one of the simplest fixes for meat that consistently turns out more done than planned.
25. Store Leftovers With Their Juices
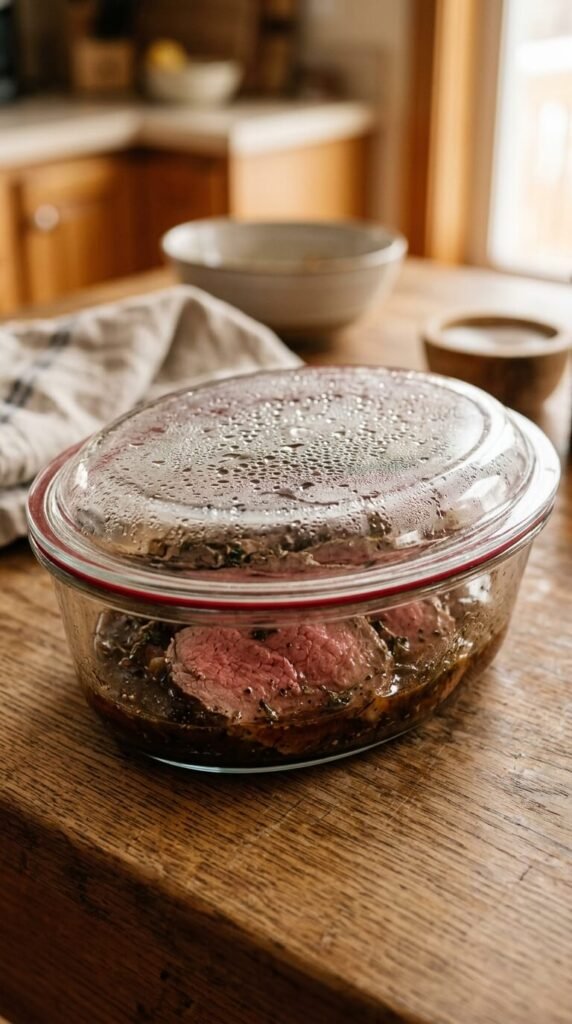
Leftover meat dries out fast in the fridge if it’s stored bare. Before you put it away, pour any pan juices left over the sliced meat in its storage container. Those juices keep the surface moist overnight instead of letting it dry out and toughen. A basic container with a lid works fine — no need for anything vacuum-sealed. Didn’t save juices? Even a spoon of broth poured over the top before sealing helps. It’s a small step that makes leftovers taste nearly as good the next day as they did the first time.
26. Reheat Low and Slow, Not in the Microwave on High
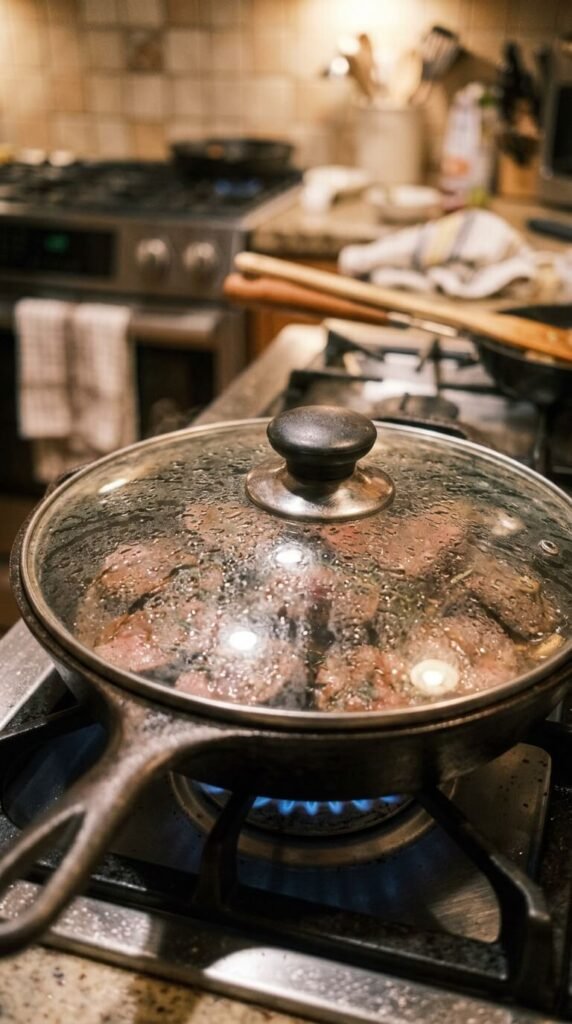
Blasting leftover tenderloin in the microwave on high squeezes out whatever moisture is left. Instead, reheat it low and slow — a covered skillet on low heat, or a low oven around 250°F, works far better. Add a splash of broth or water to the pan to create some steam while it warms through. This takes a few extra minutes compared to the microwave, but the texture stays close to the original instead of turning rubbery. If microwave really is your only option, use a low power setting and short bursts instead of one long blast.
Conclusion
Great beef tenderloin doesn’t come down to luck or an expensive gadget. It comes down to small, repeatable habits — drying the meat, salting early, watching the heat, resting before you cut. Every tip on this list works with tools most kitchens already have, and none of them add real cost to your grocery bill. Start with two or three that fit tonight’s dinner, then build from there next time you cook. Juicy, tender tenderloin isn’t a special-occasion trick reserved for restaurants. With a few small changes to how you handle the pan, the salt, and the clock, it’s something you can pull off on a regular weeknight, every single time.