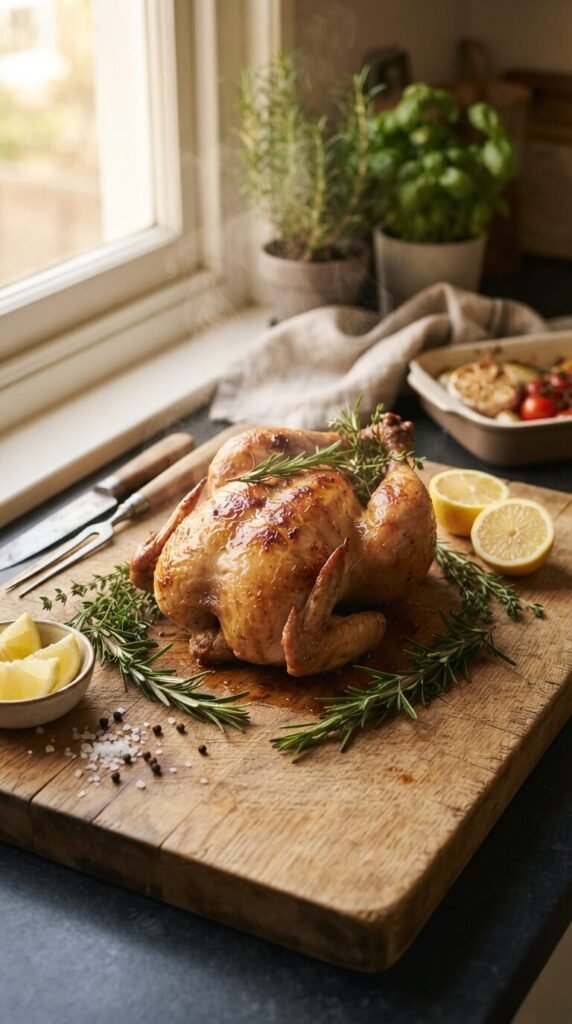
Crispy chicken skin is the kind of thing that turns a plain weeknight dinner into something people actually look forward to. The trick isn’t a fancy gadget or a culinary degree — it’s a handful of smart, repeatable techniques that anyone can pull off in a home oven. Whether you’re working with a whole bird, thighs, or drumsticks, small changes in how you prep, season, and bake can mean the difference between soggy skin and that satisfying golden crunch. This list walks through 27 simple, budget-friendly ways to get perfectly baked chicken with skin so crispy it sounds like autumn leaves when you bite in.
Pat the Skin Bone Dry Before Anything Else
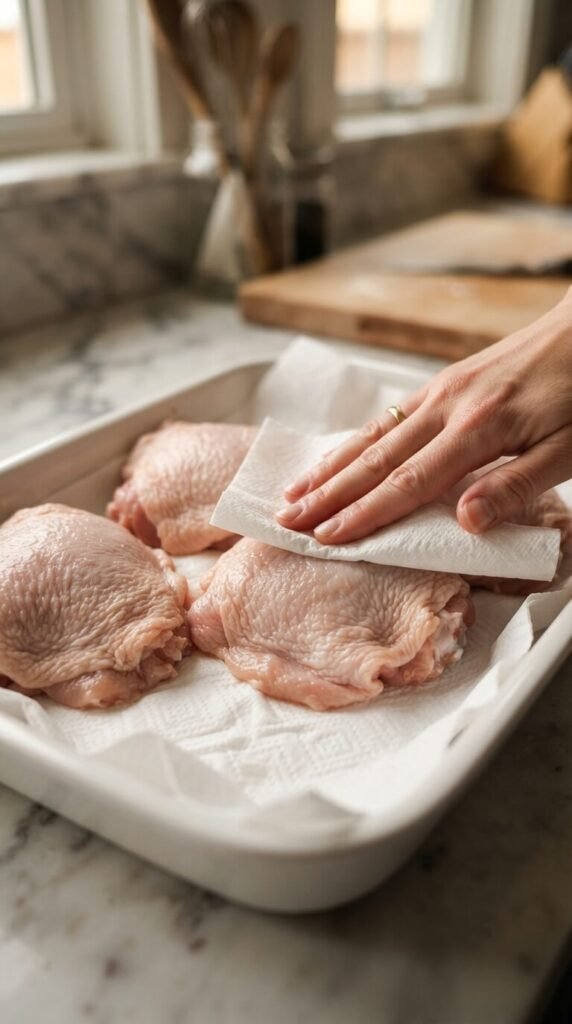
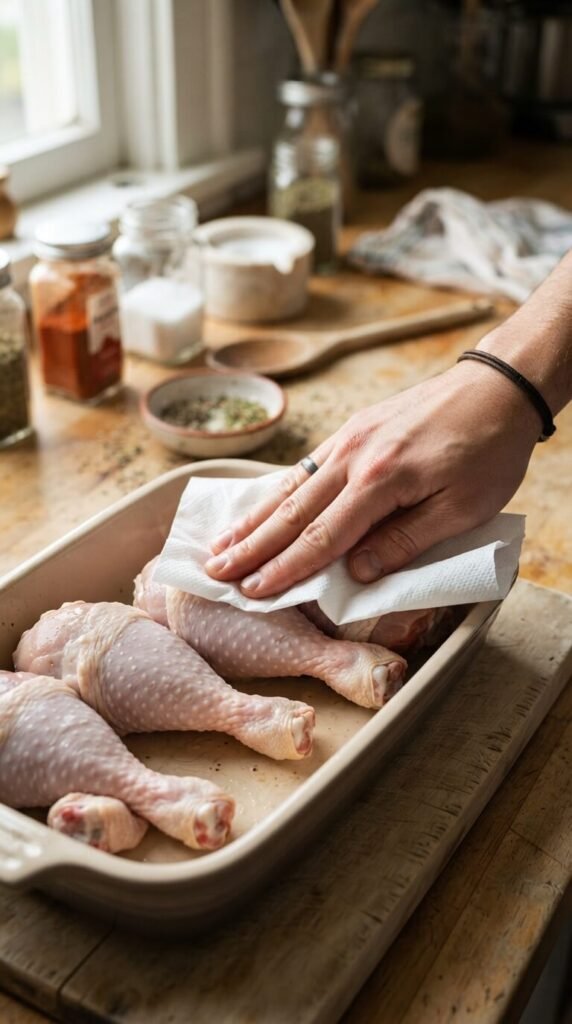
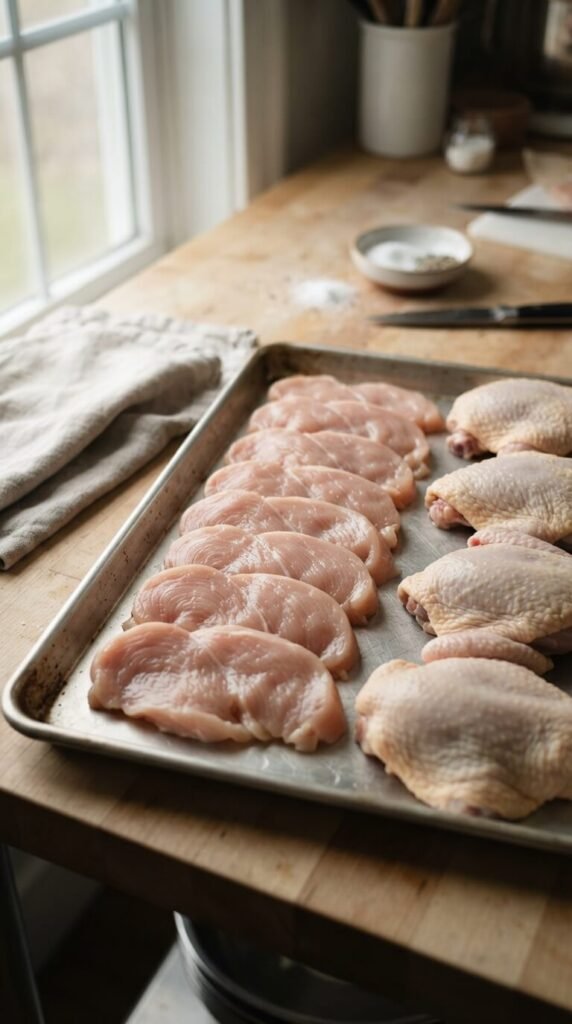
Moisture is the enemy of crispy skin. Before you season anything, grab paper towels and pat the chicken completely dry. Do this on both sides, and don’t rush it. Wet skin steams in the oven instead of crisping. This step costs nothing and takes maybe two minutes. If you’re really short on paper towels, a clean kitchen towel works fine too. Just don’t reuse it for other raw meat tasks. This one habit alone fixes half of most people’s crispy skin problems, and it’s the easiest place to start.
Let It Air-Dry in the Fridge Overnight
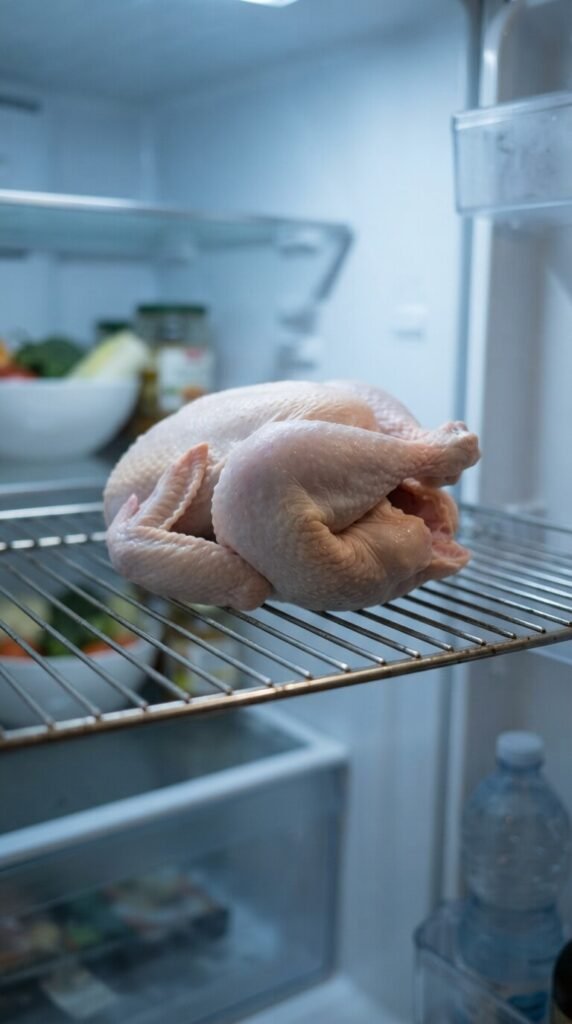
If you have time the night before, place your chicken uncovered on a rack in the fridge. This pulls even more surface moisture out overnight. It sounds strange to leave meat uncovered, but refrigerators are cold and dry enough to keep it safe. By morning, the skin will feel almost papery. That texture is exactly what you want before baking. This trick costs zero dollars and just requires a little planning. It’s a favorite among home cooks who want restaurant-style crunch without buying anything special.
Season Generously With Salt Early

Salt does double duty here. It draws out moisture and seasons the meat at the same time. Salt your chicken at least an hour before baking, or the night before if possible. Use a coarse salt so you can see where it’s landing. Don’t be shy — most people under-salt poultry. A basic box of kosher salt costs very little and lasts for months. This simple step builds flavor from the inside out while helping that skin dry out even further before it hits the oven.
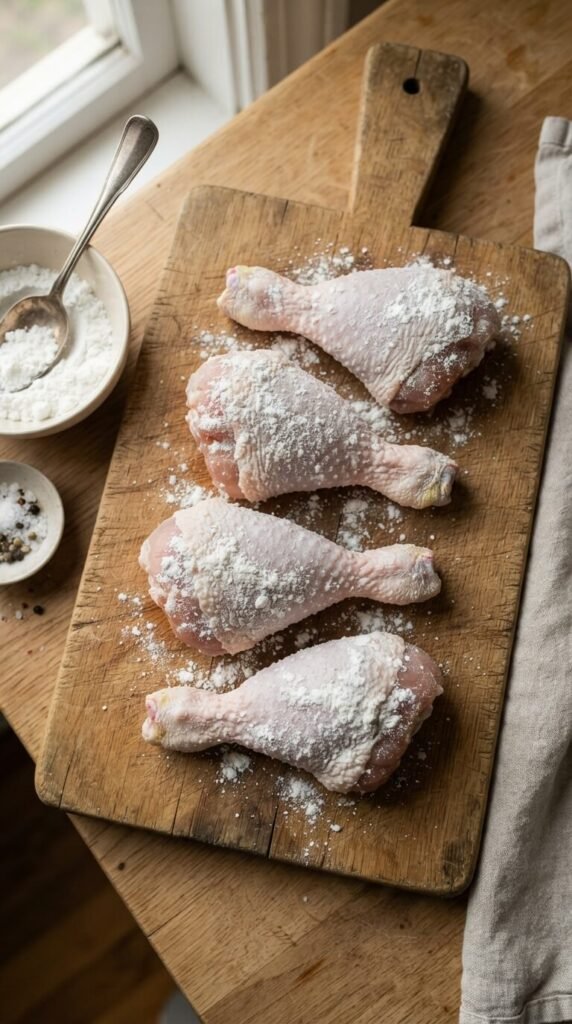
Rub the Skin With Baking Powder
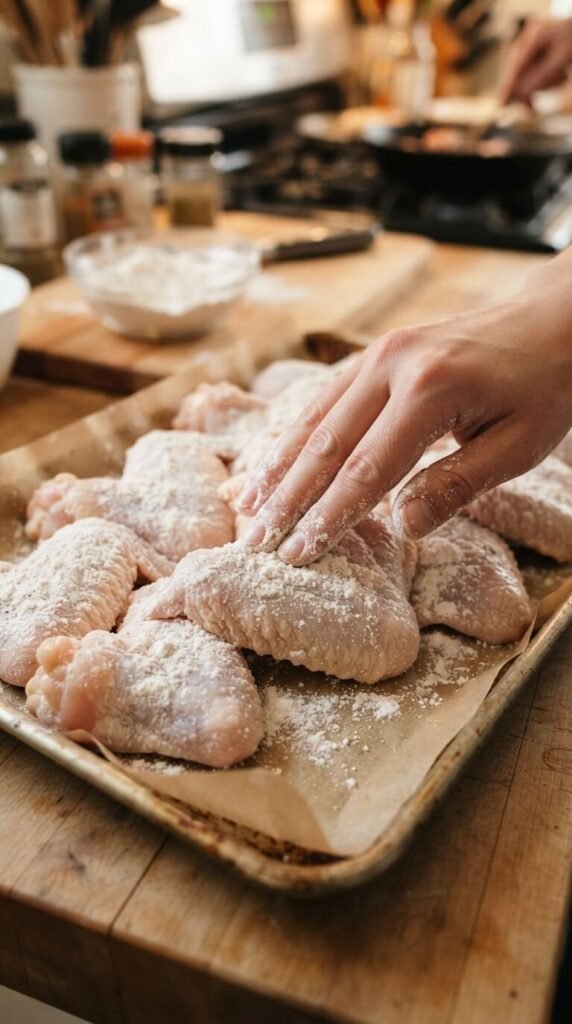
This is a budget kitchen hack that works like magic. Mix a small amount of baking powder with your salt and rub it into the skin. Baking powder raises the pH of the skin, which helps it brown and crisp faster in the oven. Make sure it’s baking powder, not baking soda — they behave differently. A small can lasts a long time and costs just a couple dollars. This trick is especially good for wings and drumsticks where skin-to-meat ratio is high.
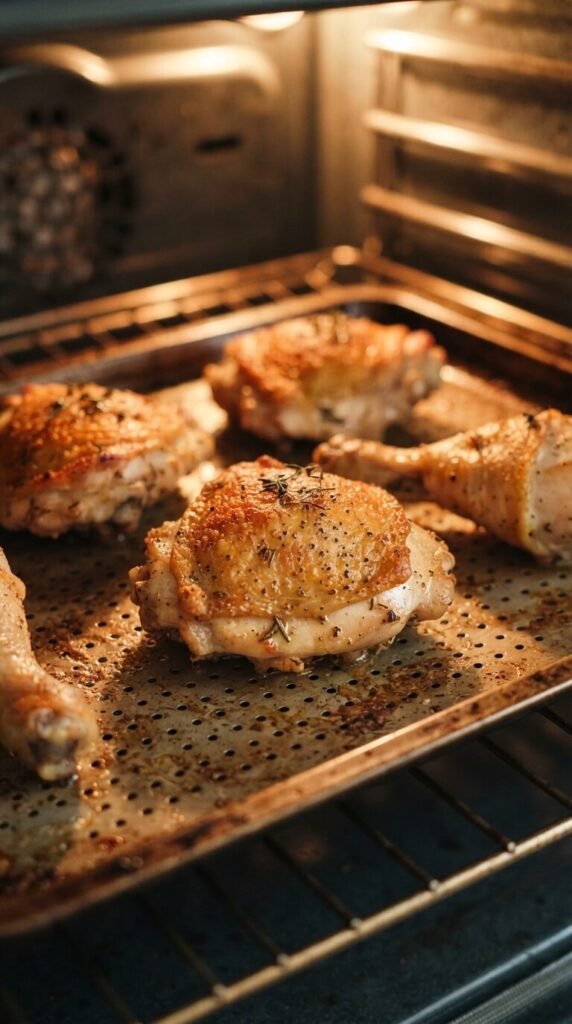
Use a Wire Rack, Not a Flat Pan
[Image Parompt Removed – fixing]
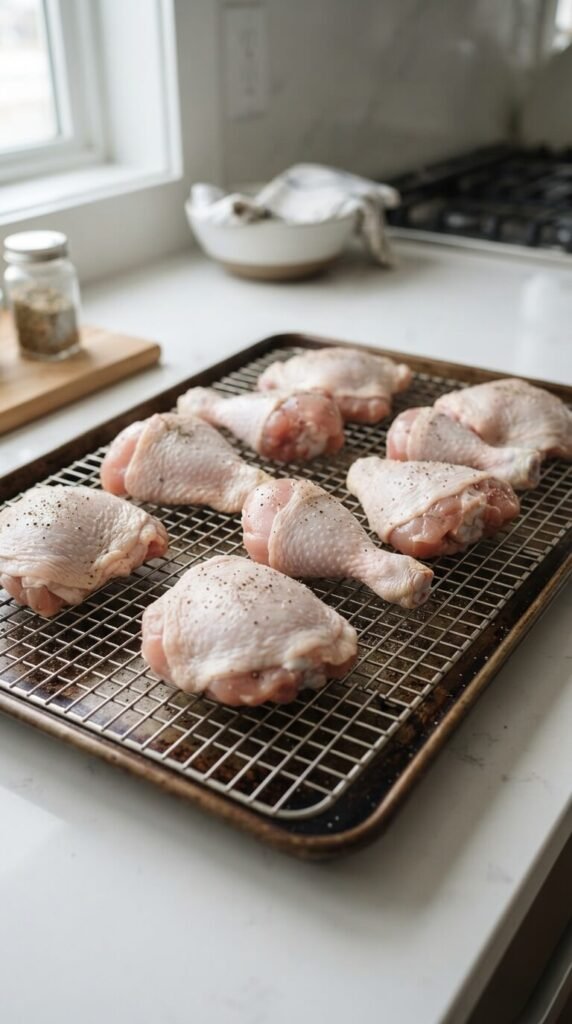
Baking chicken directly on a flat sheet traps moisture underneath. A wire rack lets hot air move all the way around the meat. This means the bottom skin crisps up just like the top. You don’t need an expensive rack — a basic cooling rack from a discount store works fine. Just make sure it’s oven-safe. This one swap changes the whole outcome of your bake and takes seconds to set up before you start cooking.
Start With a Hot Oven
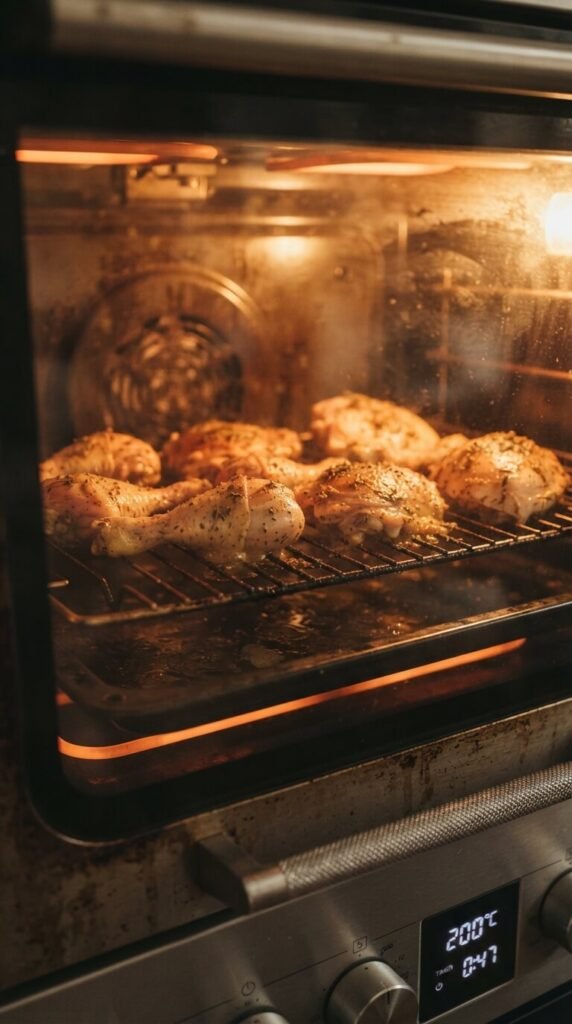
Crispy skin needs high heat. Preheat your oven to at least 425°F before the chicken goes in. A cold or lukewarm oven means the skin cooks slowly and turns rubbery instead of crisp. Give your oven a full 15 to 20 minutes to reach temperature. This costs nothing extra besides a little patience. Many home cooks skip this step to save time, but it’s honestly one of the biggest factors in getting that golden, crackling finish everyone wants.
Brush With Oil, Not Butter, for Extra Crunch
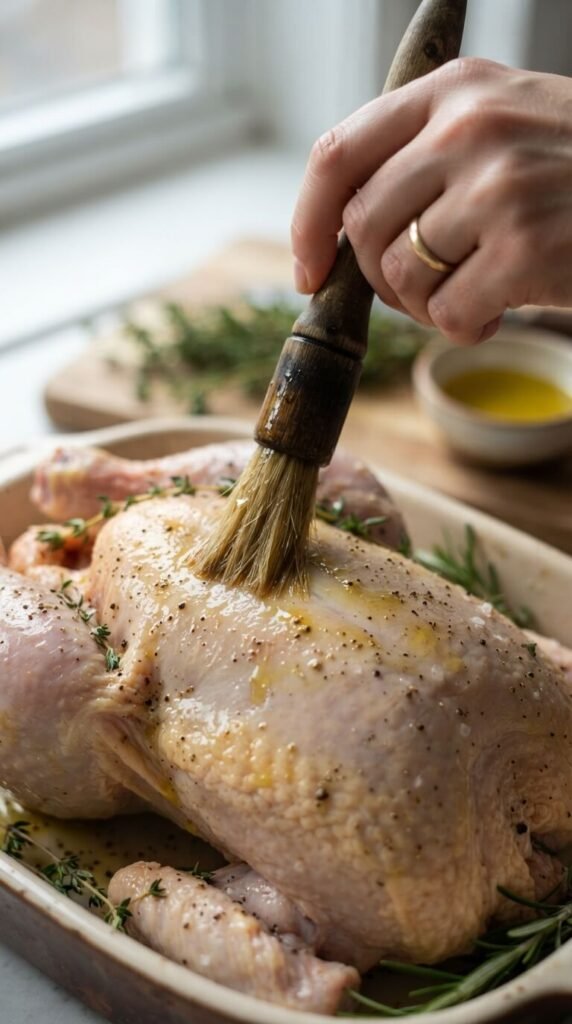
Oil has a higher smoke point than butter, so it crisps skin better at high oven temperatures. A light brush of vegetable or avocado oil helps the skin brown evenly without burning. Butter can still be used for flavor, but add it toward the end of cooking instead. A basic bottle of cooking oil is cheap and goes a long way. This small swap keeps your skin crispy instead of soft and greasy by the time dinner’s ready.
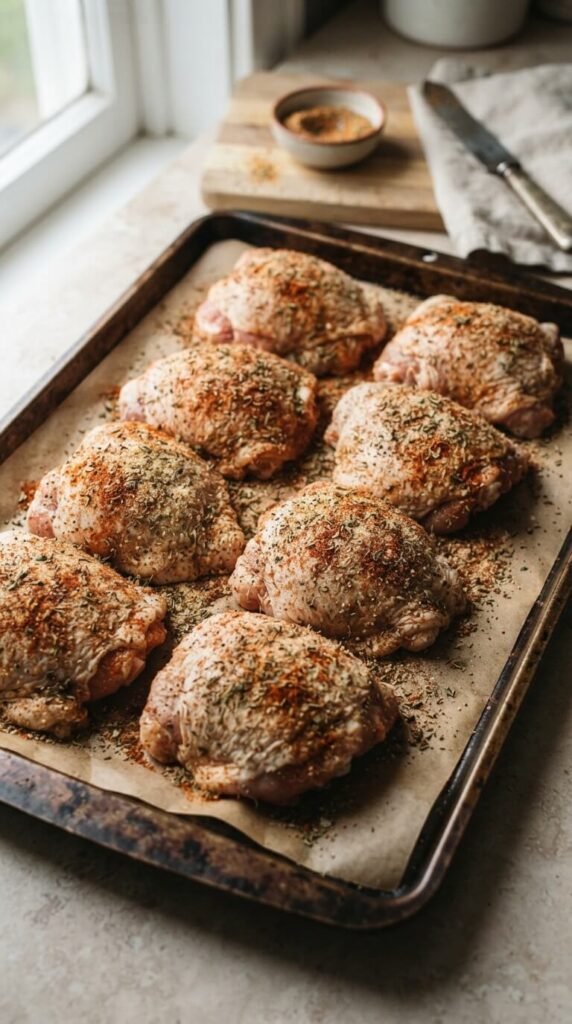
Space the Pieces Apart on the Tray
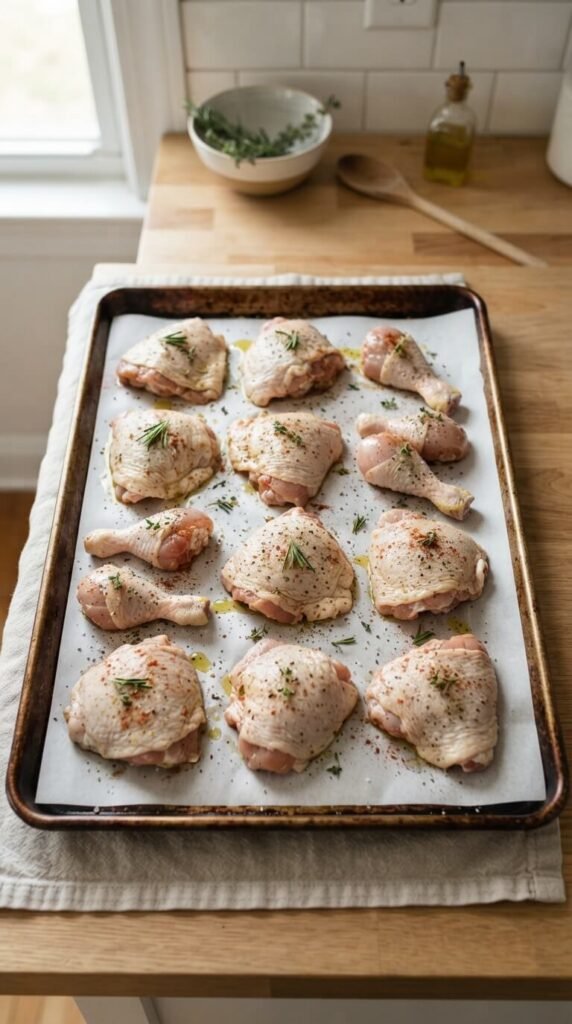
Crowding the pan is a common mistake. When chicken pieces touch, steam gets trapped between them and softens the skin. Give each piece a little breathing room, at least an inch if you can. If your pan is too small, use two trays instead of piling everything together. This costs nothing — it’s just a matter of arrangement. Spacing things out properly is one of those free fixes that makes a noticeable difference in the final texture.
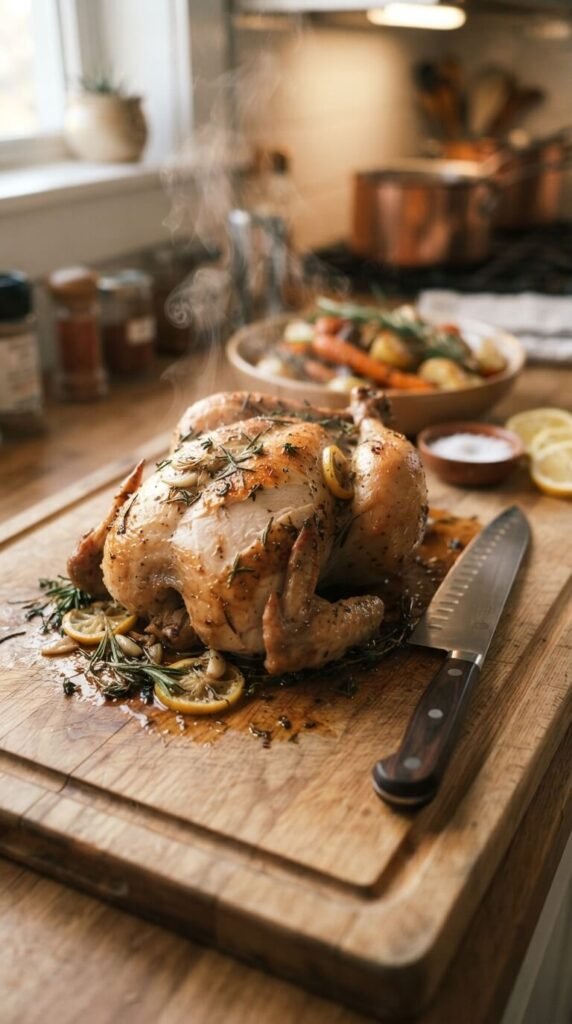
Try Spatchcocking a Whole Chicken
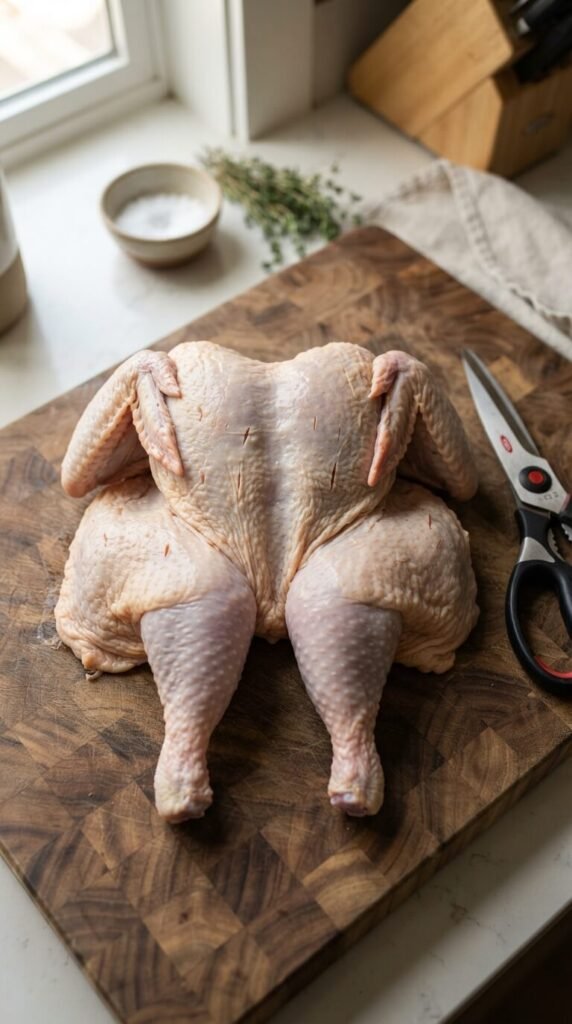
Spatchcocking means removing the backbone so the chicken lies flat. This exposes more skin surface to direct heat and cuts cooking time significantly. It sounds intimidating, but a pair of kitchen shears makes it simple. Many grocery stores sell inexpensive poultry shears for a few dollars. Flattening the bird also helps it cook more evenly, so you’re less likely to end up with dry breast meat and undercooked thighs at the same time.
Season Under the Skin, Not Just On Top
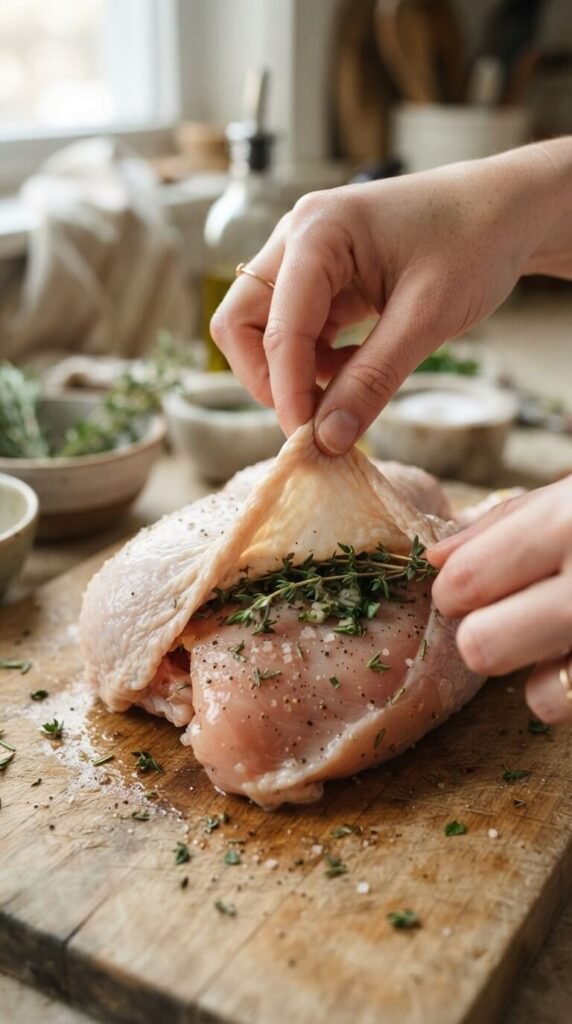
Sliding seasoning or herb butter under the skin adds flavor directly to the meat while keeping the skin’s surface dry for crisping. Use your fingers to gently loosen the skin, then tuck in garlic, herbs, or a light layer of softened butter. This technique works especially well with dried herbs from your pantry, which cost very little. The result is flavorful meat underneath and a skin that still crisps beautifully on top.
Skip the Marinade Right Before Baking
Wet marinades add flavor but also add moisture, which works against crispy skin. If you love marinated chicken, marinate it the night before, then pat it completely dry before baking. Dry rubs are a better same-day option when crispiness is the goal. A simple mix of paprika, garlic powder, salt, and pepper from your spice cabinet works great and costs almost nothing compared to bottled marinades.
Don’t Baste With Pan Juices Mid-Bake
Basting sounds like a good idea, but pouring pan juices back over the skin re-wets it and undoes your crisping progress. Let the chicken bake undisturbed instead. If you’re worried about dryness, trust the oil and salt you applied earlier to do their job. This is a free habit change — just resist the urge to open the oven and baste every few minutes, and you’ll get a much crunchier result.
Finish Under the Broiler for the Last Few Minutes
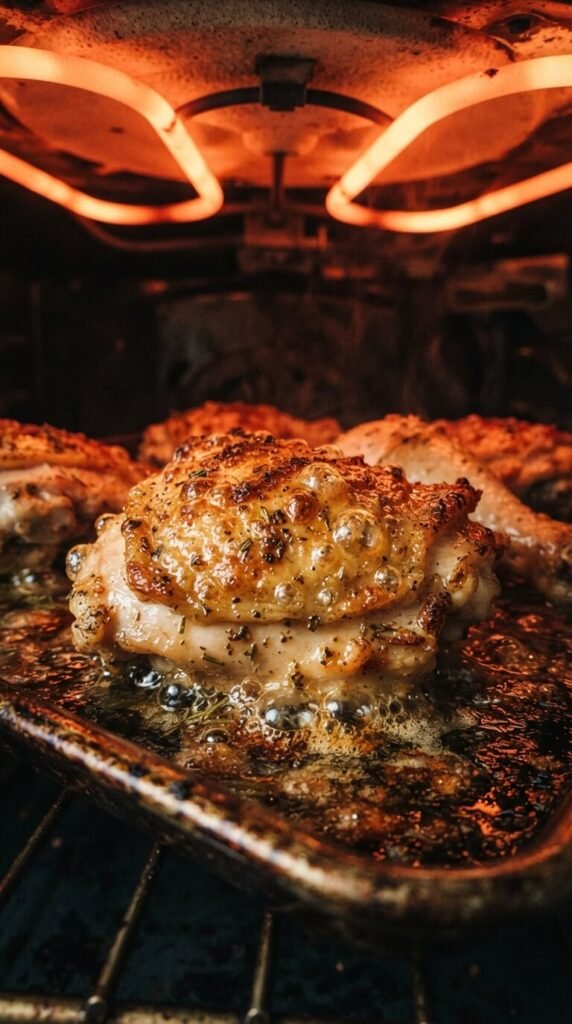
Once the chicken is nearly cooked through, switch your oven to broil for the final two to three minutes. This blast of direct heat browns and crackles the skin fast. Watch it closely, since broilers can burn food quickly. This trick doesn’t cost anything extra and uses an oven feature most people already have but rarely use. It’s a great way to fix skin that’s cooked but not quite crispy enough yet.
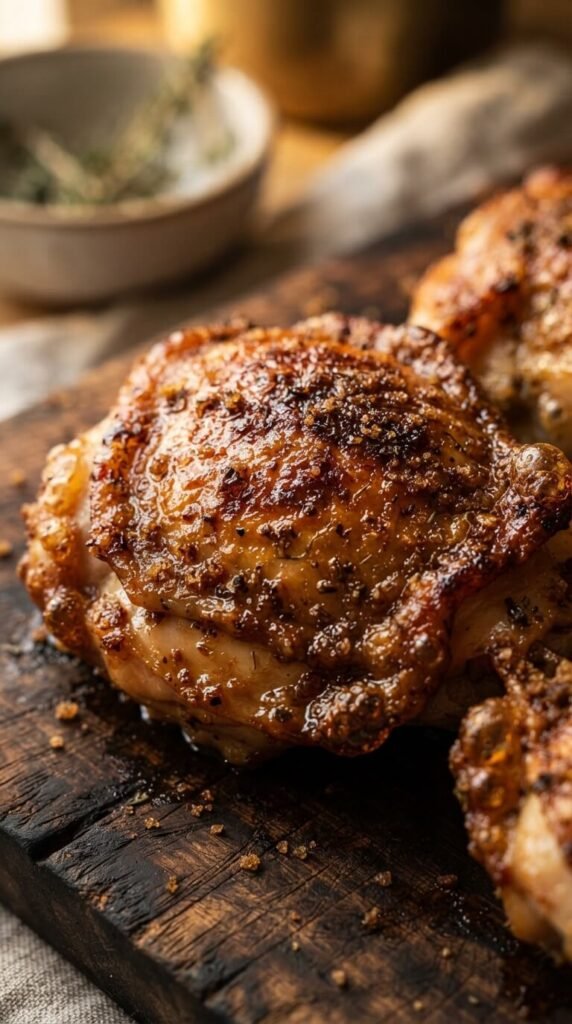
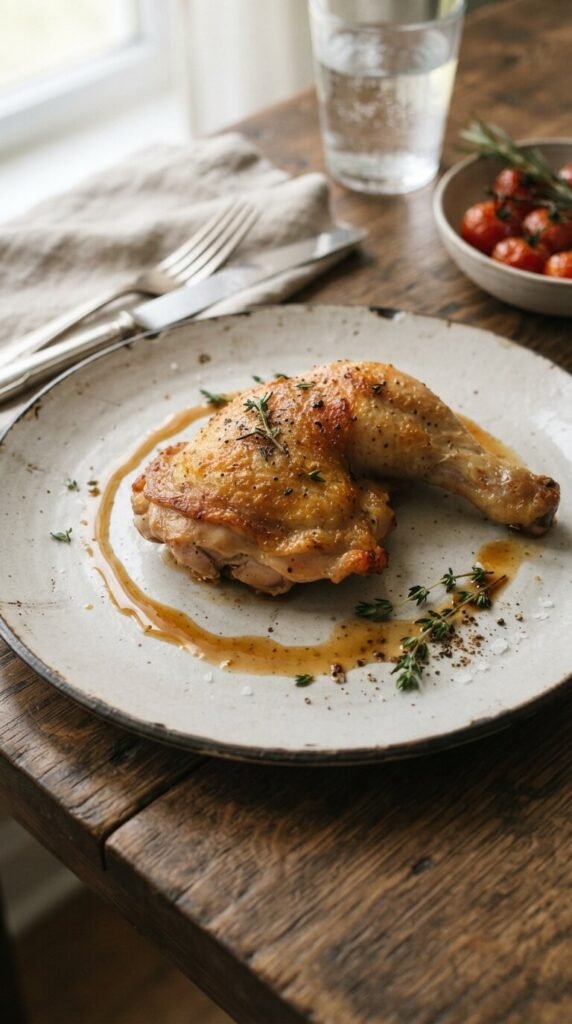
Use Chicken Thighs for a Higher Skin-to-Meat Ratio
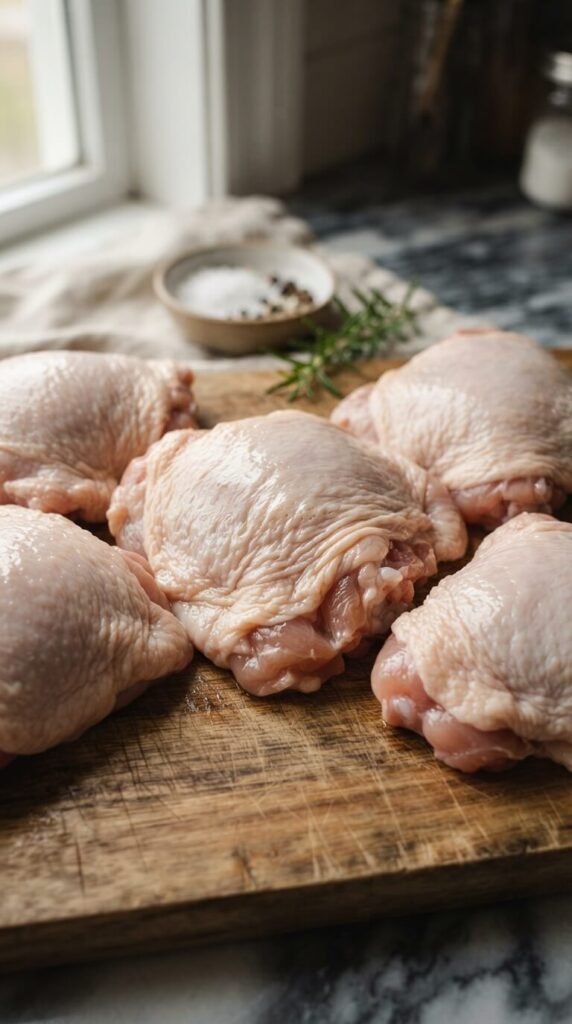
Thighs are often cheaper than breasts and come with more forgiving fat content, which helps the skin crisp naturally. The extra fat under the skin renders out during baking, basting the meat from within. Buying a family pack of thighs is usually one of the more affordable proteins at the grocery store. If you’re on a budget and want crispy skin without much effort, thighs are the easiest cut to start with.
Pat Dry Again Right Before Seasoning
Even if you dried your chicken earlier, condensation can build back up while it sits out or while you prep other ingredients. Give it one more quick pat right before it goes into the oven. This second dry-down takes ten seconds and reinforces everything you did earlier. It’s a small habit, but combined with the other steps, it stacks up to a noticeably crispier finish by the time dinner is done.
Try a Cornstarch Dusting for Extra Crackle
A light dusting of cornstarch mixed into your seasoning blend creates an almost fried-like crunch when baked. It works similarly to baking powder but focuses more on texture than browning. A small box of cornstarch is inexpensive and often already in the pantry for other recipes. Use a light hand — too much can taste chalky. This trick is popular for wings and drumsticks where crunch matters most.
Roast Vegetables Underneath the Chicken
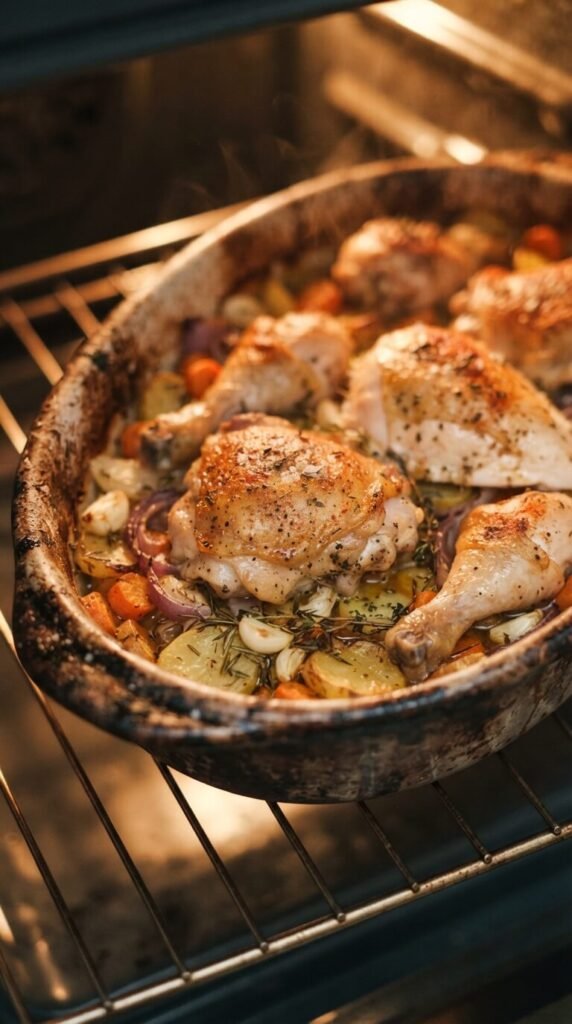
Placing sturdy vegetables like potatoes, onions, or carrots underneath your chicken lets the fat drip down and flavor them while keeping the chicken elevated and crisp. This turns dinner into a single-pan meal, which saves both time and dishes. Root vegetables are usually some of the cheapest produce at the store, making this a smart way to stretch your grocery budget while still getting that crispy skin on top.
Choose Thinner Cuts for Faster, Even Crisping
Thicker cuts take longer to cook through, which gives the skin more time to overcook before the inside is done. Pounding chicken breasts to an even thickness, or choosing smaller pieces like drumettes, helps everything finish at the same time. This means crispy skin without dry, overcooked meat underneath. A simple meat mallet is a one-time purchase that pays off across many future dinners.
Avoid Overcrowded Baking Dishes With High Sides
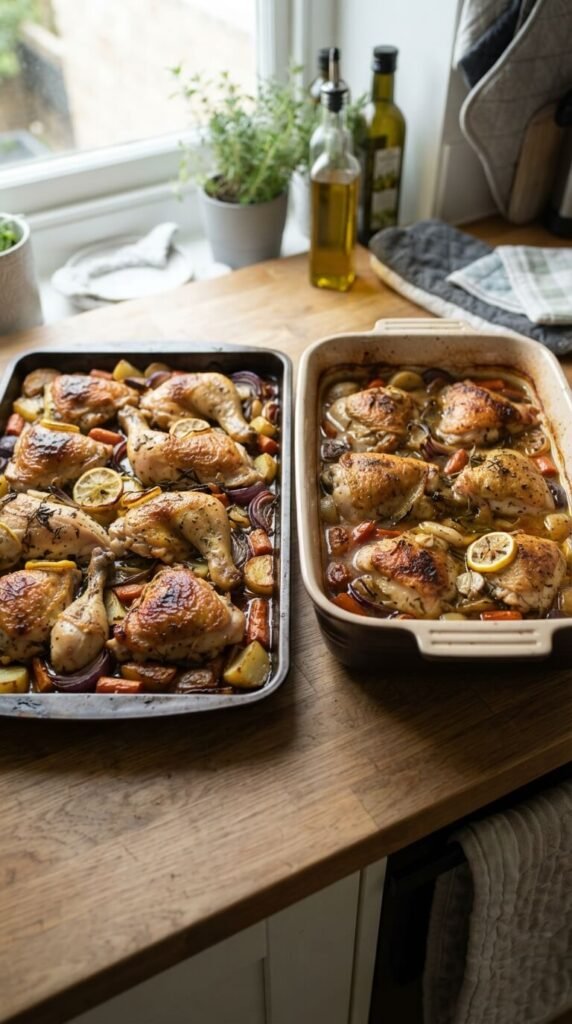
Deep baking dishes trap steam around the sides of the chicken. A wide, shallow tray lets hot air circulate more freely across the entire surface. If your only pan is a deep casserole dish, consider using a flatter sheet pan instead for chicken specifically. Sheet pans are inexpensive and multi-purpose, making them one of the better kitchen investments for anyone who bakes chicken often.
Add a Light Sugar Touch for Better Browning
A small pinch of brown sugar in your seasoning mix helps the skin caramelize and brown faster. It won’t make the chicken taste sweet in small amounts — it just deepens the color and adds a subtle savory-sweet edge. This works especially well paired with smoky spices like paprika or cumin. A bag of brown sugar is cheap and lasts a long time across many future rubs and marinades.
Use a Meat Thermometer Instead of Guessing
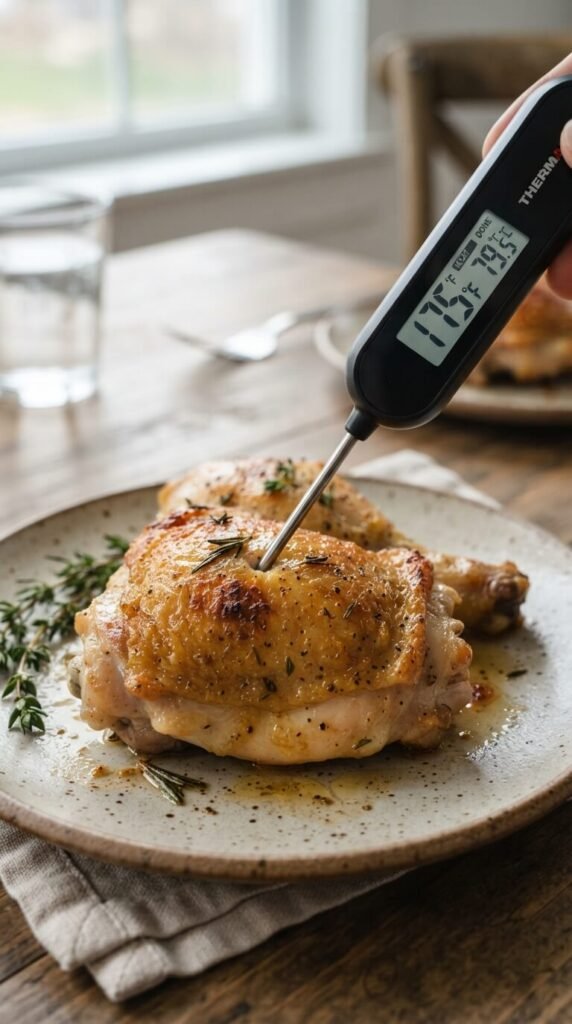
Overcooking dries out chicken and can make skin taste tough instead of crisp. A cheap digital thermometer takes the guesswork out completely. Pull chicken at 165°F in the thickest part. These thermometers are widely available for a small price and last for years. This tool alone can fix inconsistent results more than any seasoning trick, since perfectly cooked meat under crispy skin is what makes the whole dish work.
Rest the Chicken Before Cutting Into It
Cutting into chicken right away releases juices that can soften the skin you worked hard to crisp. Let it rest for five to ten minutes before slicing. This also helps the juices redistribute through the meat for a better bite overall. Resting costs nothing but a little patience, and it’s an easy step that’s often skipped when everyone’s hungry and ready to eat.
Reheat Leftovers in the Oven, Not the Microwave

Microwaves make skin soft and chewy almost instantly. If you have leftovers, a quick 10-minute reheat in a hot oven brings the crisp texture back. This is a free trick that just requires a little extra time compared to the microwave. It’s especially useful for meal preppers who bake a big batch of chicken thighs at the start of the week and reheat portions throughout.
Pair With a Simple Pan Sauce Instead of Drowning the Skin
Sauce is great, but pouring it directly over crispy skin ruins the texture instantly. Serve sauce on the side or drizzle it around the plate instead of on top. This keeps the crunch intact until the last bite. A basic pan sauce made from drippings, a splash of stock, and a squeeze of lemon costs almost nothing and adds flavor without sacrificing texture.
Try Different Herb and Spice Combos to Keep It Interesting

Crispy skin techniques stay the same, but flavors can change every time. Rotate between lemon-pepper, smoky paprika, garlic-herb, or a simple salt-and-pepper classic. Most spice blends can be made from pantry basics you already own. This keeps weekly chicken dinners from feeling repetitive without adding any real cost. A little variety goes a long way toward keeping this an easy, go-to meal instead of a chore.
Save the Rendered Fat for Future Cooking
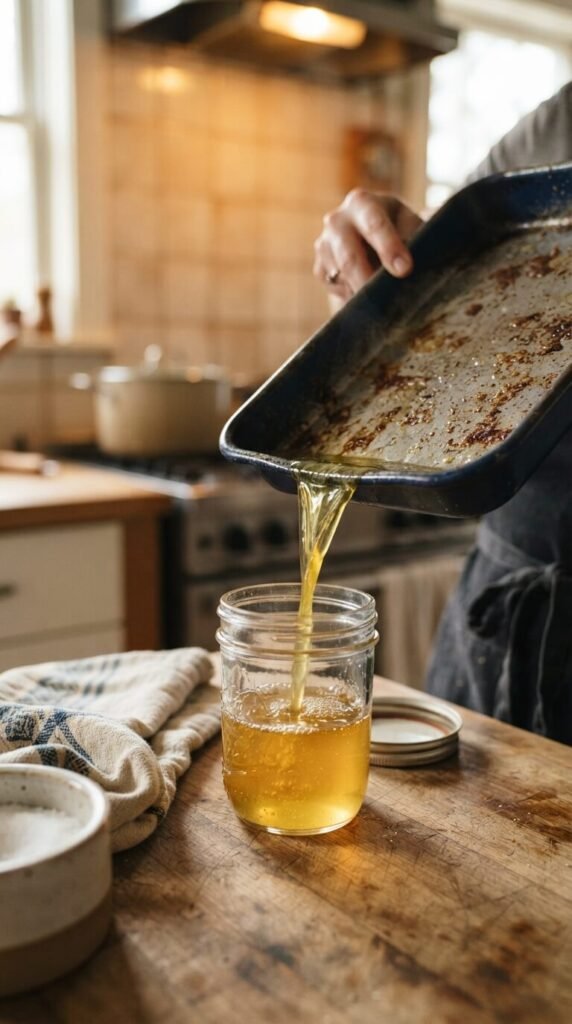
Don’t toss the fat left behind on your baking tray. Strain it into a small jar and store it in the fridge. It’s great for roasting vegetables or searing other proteins later. This is a zero-cost way to stretch your grocery budget further, since you’re getting extra use out of something you already paid for. Home cooks who batch-bake chicken often build up a nice stash of this flavorful fat over time.
Keep a Simple Weekly Baking Routine for Consistent Results

Once you find a combination of steps that works, repeat it weekly instead of reinventing the process every time. Consistency builds confidence and makes crispy skin baked chicken a reliable, affordable dinner option rather than a special occasion dish. Buying chicken in bulk when it’s on sale and freezing portions ahead of time keeps costs low while still letting you enjoy this simple, satisfying meal on a regular basis.
Conclusion
Crispy baked chicken skin isn’t about expensive tools or complicated techniques. It comes down to a handful of small, repeatable habits: drying the skin, seasoning early, using high heat, and giving the chicken room to breathe on the pan. Try a few of these tips at your next dinner, mix and match what fits your routine, and you’ll start seeing that golden, crackling skin show up on your plate consistently — no special equipment or big grocery bill required.