You did the hard part. You spent your Sunday afternoon cooking grains, roasting vegetables, and prepping proteins for the entire week. And then, somewhere around Wednesday, you open the fridge to find soggy vegetables, slimy greens, and rice that’s somehow both dry and mushy at the same time. Sound familiar? Here’s the truth nobody tells you: how you store your meal prep matters almost as much as how you cook it. The right containers and storage habits can be the difference between food that tastes fresh all week and food you’re forcing yourself to eat by Thursday.
Choose the Right Material for the Job
Not all containers are created equal, and the material you choose actually affects how long your food stays fresh.
Glass containers:
- Don’t absorb odors, stains, or flavors from previous meals
- Safe for reheating directly in the microwave or oven
- Heavier and more durable long-term, though they can break if dropped
- The best overall choice for most meal prep needs
BPA-free plastic containers:
- Lighter and easier to transport, especially for lunches on the go
- More prone to staining from tomato-based sauces or turmeric
- Can warp slightly with repeated microwave use
- A solid budget-friendly option, especially for freezer storage
Stainless steel containers:
- Excellent for cold items and snacks
- Not microwave-safe, which limits their use for reheatable meals
- Extremely durable and great for on-the-go portions
For most weekly meal prep, a mix of glass containers for main meals and smaller plastic or steel containers for snacks and sides covers nearly every need.
Master the Airtight Seal
This is the single biggest factor in keeping prepped food fresh, and it’s often overlooked entirely.
- Check that lids snap fully closed on all sides, not just in the front — a loose seal lets in air that speeds up spoilage
- Avoid containers with worn-out or cracked seals — even small gaps significantly shorten how long food stays fresh
- Press out excess air before sealing if you’re using containers with flexible lids
- Replace containers with seals that no longer click firmly — this is a small cost compared to the food waste from spoiled meals
A genuinely airtight seal can extend freshness by several days compared to a container that’s “mostly” closed.
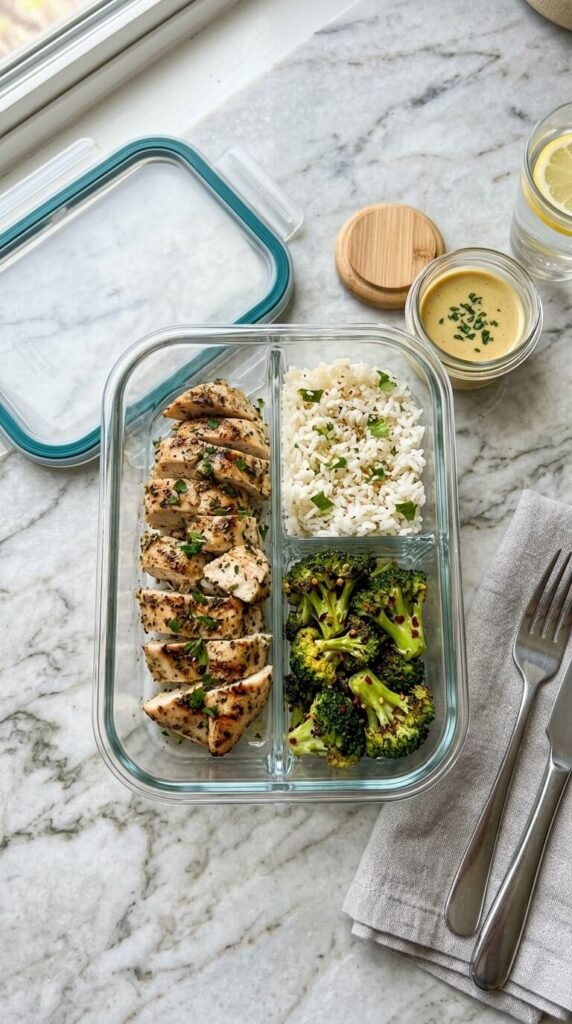
Keep Wet and Dry Components Separate
This is the trick that solves the soggy meal prep problem almost entirely, and it requires no special equipment — just a different storage strategy.
Why this matters: Sauces, dressings, and wet proteins release moisture over time. If they’re sitting directly against rice, greens, or crispy elements, everything softens and turns mushy by day three.
The fix:
- Use divided containers with separate compartments for protein, starch, and vegetables
- Store sauces and dressings in small separate containers and add them only right before eating
- Keep crispy elements (croutons, tortilla chips, roasted nuts) in a separate small container or bag until serving time
- Layer salads with dressing at the bottom only if you’re eating within a day — otherwise, keep it fully separate
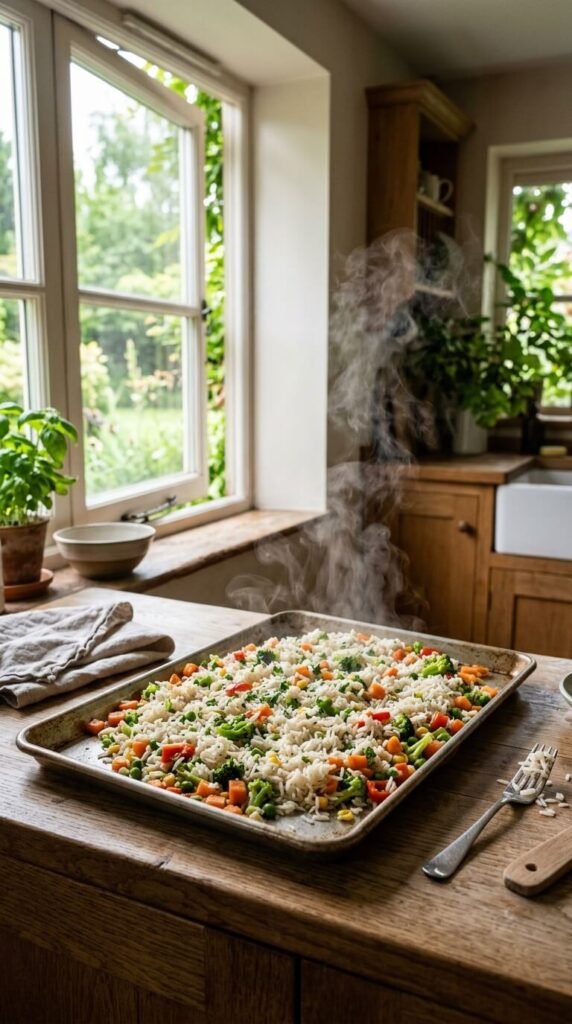
Cool Food Completely Before Sealing
This step takes patience, but skipping it is one of the fastest ways to shorten the life of your meal prep.
- Let hot food cool to room temperature before sealing containers — sealing it while hot traps steam, which creates condensation and accelerates spoilage
- Spread food out on a sheet pan to cool faster if you’re short on time, rather than letting a deep pot of food cool slowly
- Never stack hot containers in the fridge — give them airflow until they’ve cooled, then consolidate
A few extra minutes of cooling time can add real days to how long your meals stay fresh.
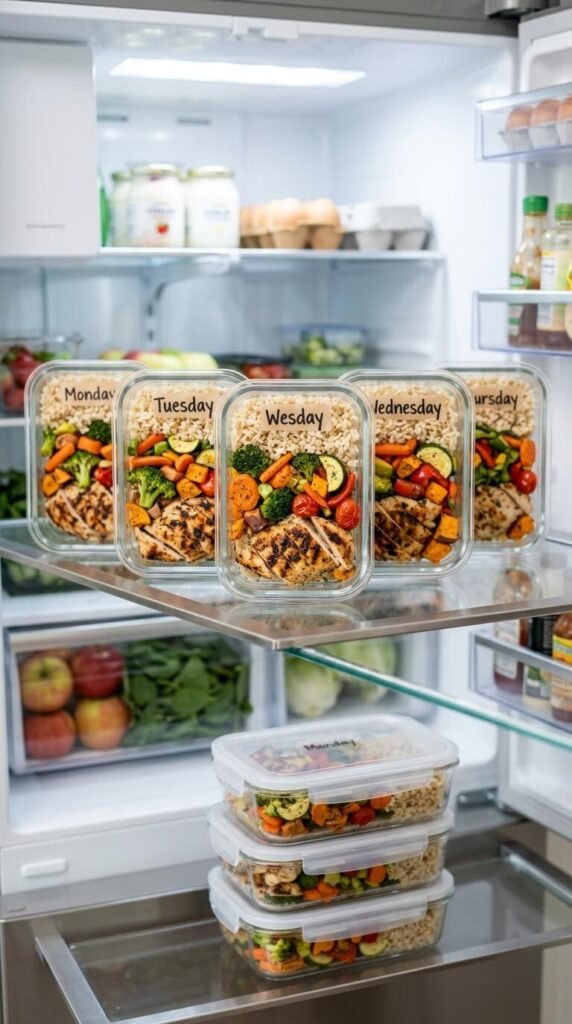
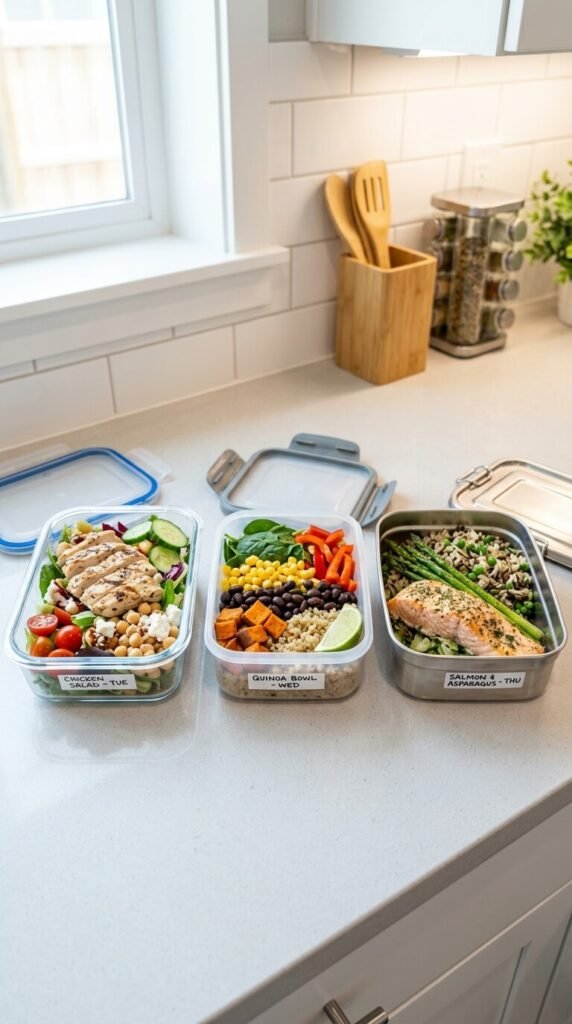
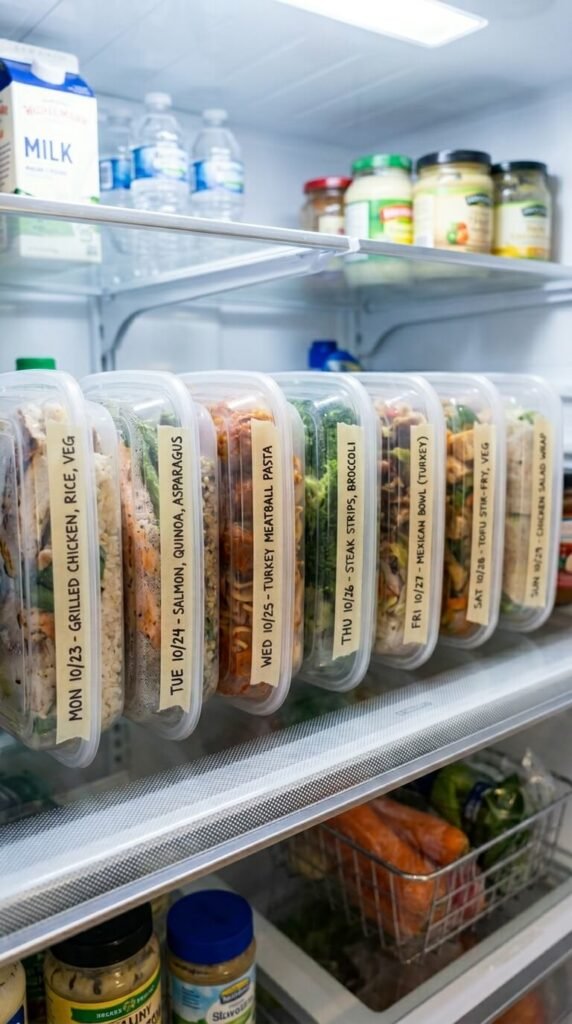
Label Everything With Dates
This sounds almost too simple to matter, but it solves a surprisingly common problem: forgetting what you made and when.
- Use masking tape and a marker, or reusable labels, on every container
- Write the date prepared, not just the contents — “Tuesday” is more useful than “chicken” when you’re trying to remember what’s still safe to eat
- Practice “first in, first out” — eat the oldest prepped meals first, rather than reaching for whatever’s most visible
- Set a mental (or actual) expiration reminder — most prepped meals are best within 3–4 days, with some exceptions for things like roasted vegetables or grains that hold up slightly longer
Store Smart, Eat Fresh All Week
The difference between meal prep that feels like a chore by Wednesday and meal prep that tastes great through Friday almost always comes down to storage habits. Choose the right containers, seal them properly, separate wet from dry, cool food before sealing, and label everything clearly. These small habits protect all the effort you already put into cooking.
Save this guide and set yourself up for a week of meals that actually taste like day one, every day. 🥗📦